Earth Heart Holistic
  • www.glittermouse.co.uk
  • Earth Heart About
  • Earth Heart Blog

Elderflower Water

29/5/2024

1 Comment

 
A few weeks ago I shared the simple technique of using water to harness the benefits of cleavers and we've been drinking quite a bit of it here, often additionally flavoured with a sprig of mint. Recently, the elder has started flowering though so it seems we're moving onto elderflower water to keep our thirst quenched as we move into the summer!
Elderflower is traditionally used to treat all manner of respiratory ailments, from asthma to colds and even allergies. I'm lucky not to suffer but a daily dose of elderflower is said to keep hay-fever at bay. Topically, it can be used to soothe sensitive skin.

Elderflower cordial, is a well known and much loved summer drink but not so many people seem to know that it can be equally enjoyed in a less sugary way! Simply pop a few washed flowers into a bottle of water, give it a bit of shake and let it sit for half an hour or so for a delicately floral, refreshing glassful of elderflower benefits! The flavour intensifies the longer you leave it, of course. Do refrigerate it if you're not drinking it straight away. You can top the same flowers up a couple of times but start again as soon as you notice any brown areas or deteriation on the flower heads. You can drink it on its own, with a cube of ice, or with a squeeze of lime works well too and if you really do want to sweeten it, I'd suggest a little splash of apple juice might be just the ticket!

Enjoy! Xx
Elderflower Water
1 Comment

Candied Violets

1/5/2024

0 Comments

 
Violets
I realised recently that I may have given the impression foraging is all green and, well, soupy. So, to remedy that, here's a celebratory May Day post of a sugary, purple nature! May Day, or Beltane, is usually celebrated on the 1st of the month, though this year lunar Beltane was actually just over a week ago on the April full moon. It's a joyous festival of fertility and new life, and I often like to mark it by gathering little wildflowers for a nature shrine to give thanks for the new growth, the coming summer, and set intentions for all that will be fruitful in the next seasons. It's traditionally the festival of maypole dancing and leaping over bonfires but I'm contenting myself with something a little more sober this year and since the may blossom (hawthorn) is coming out ever so tentatively in this cold spring, that seems entirely appropriate! Thankfully, the local wild violets are in business despite the chilled start to the year and we enjoyed gathering them on our morning walk. ​
You might have encountered palma violets; little sugary tablet like sweets, pale purple, in a roll. They always remind me of my gran! If you've ever had them, you'll remember the subtle, floral flavour. I'm not going to pretend homemade candied violets will taste quite like that and the scent of the wild flowers can be a bit hit and miss. If you've got cultivated sweet violets in your garden, you're more likely to get scent and flavour but for me the main charm of these delicate dainties is their beauty. What a delightful way to celebrate the spring! I try and avoid refined sugar as a rule and most of my biscuit and cake making is the 'healthy' kind that relies on things like date syrup and coconut sugar. I did actually use golden granulated for these little lovelies, however; I'm pretty confident they'd work well with an alternative sweetener, as long as it was a crystallised kind. I also used plant based aquafaba (water from chickpeas or beans) instead of the traditional egg white. If you've not discovered the wonders of this miraculous liquid, I'd highly recommend an adventure in vegan mousse making... But please don't spend silly money on the marketed cartons of the stuff, just spend 60p on a tin of chickpeas and have yourself some garlic mustard houmous at the same time!​
Picked Violets

Candied Violet Making:

Candied violets can be enjoyed as tiny sweets just on their own but they make gorgeous decorations for baking, reminiscent of village fêtes; like bunting for your cakes! They also add an elegant, floral crunch to a simple bowl of vanilla ice cream. They take a wee bit of thinking ahead but they're actually very straightforward to make:
Pick your violets, not forgetting to appreciate how sublimely beautiful they are as you do so! Give thanks to the plant, silently or aloud, however you'd like. I'm sure it makes them taste better if you give the plant a little appreciation as you take the flowers! Do be sure you're actually picking violets. I've noticed quite a bit of ground ivy and speedwell about at the moment, both of which have small, purple or blue flowers so take your spotters guide if you're at all unsure what violets look like!

Lightly wash the flowers and prepare your work space as they dry a little (they don't have to be completely dry, that bit comes later!). You'll need some fine sugar crystals (icing sugar is too fine, I used golden granulated sugar that I ground a bit in a pestle and motar. If you've already got caster sugar, that's would probably do it!

Drain the juice from a can of chickpeas (don't worry, your candied violets won't have a chickpea flavour!) into a small bowl and lightly whisk it with a fork until it's a bit fluffy, it doesn't take long. Remove the violets from their stems and holding the flower at the base, dab the fluffy aquafaba onto the front and back of the petals using a small paint brush. (note to self: invest in a brush for culinary purposes!) now, using a small spoon, sprinkle a little of the sugar on to the wet petals and place the flower onto a sheet of baking parchment. Don't be tempted to speed things up by dunking the flower into either the aquafaba or the sugar; you'll smother the flower in too much of the substance and it'll turn into a sticky mess! Repeat the paint and sprinkle process for each flower then set them aside in a warm dry place for 24 hours to crystallise. You could move this step on a little faster if you have a dehydrator, or by putting them in an oven that's been heated to no more than 100°c and then turned off!


When they're completely dried, you can gently peel them off the paper and store them in an air tight box. They should keep quite well but they're so tasty, I'd recommend enjoying them as soon as possible, as an offering to the (slightly late) spirits of spring and the (hopefully not too delayed) goddess of summer! ​
0 Comments

Garlic Mustard Houmous

30/4/2024

0 Comments

 
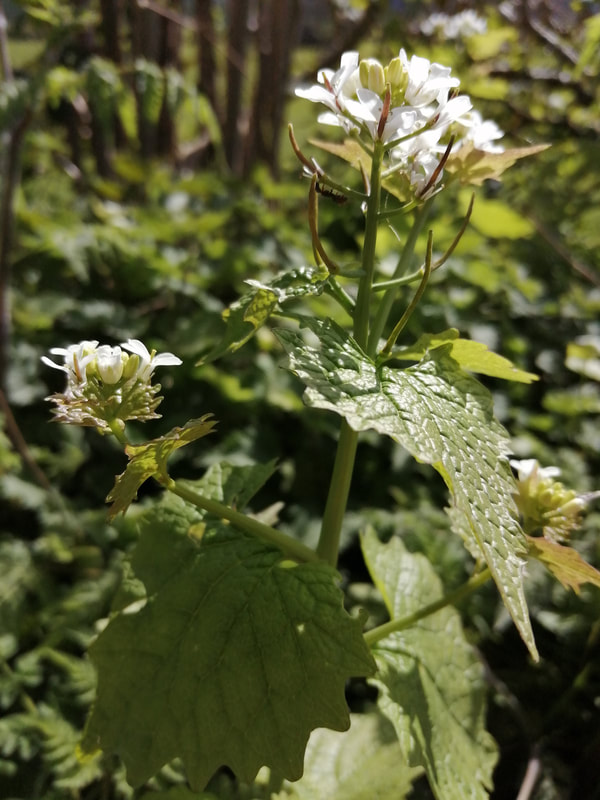
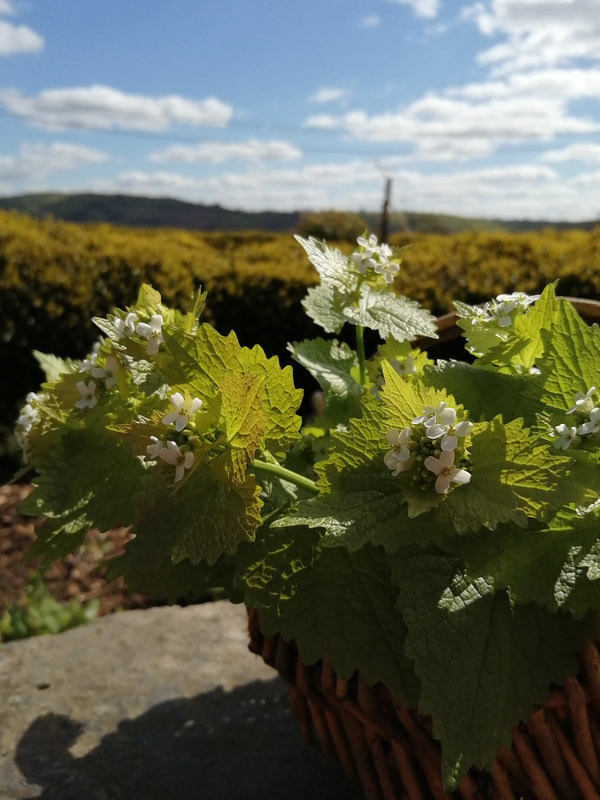
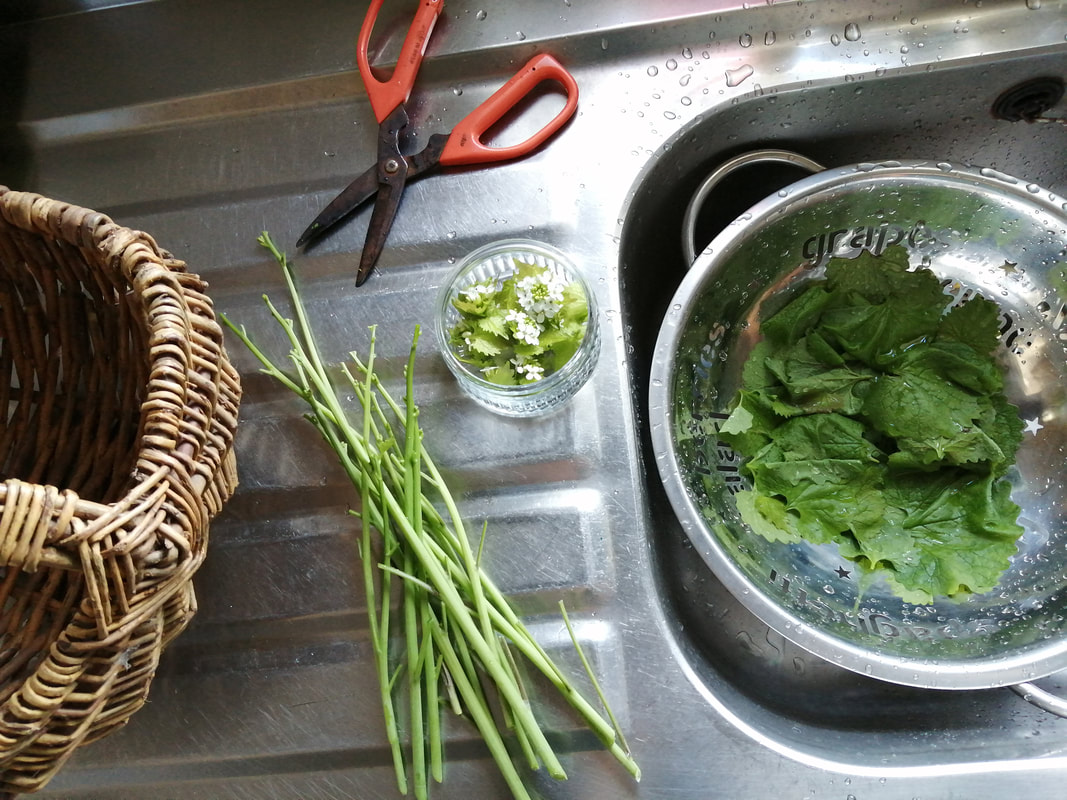
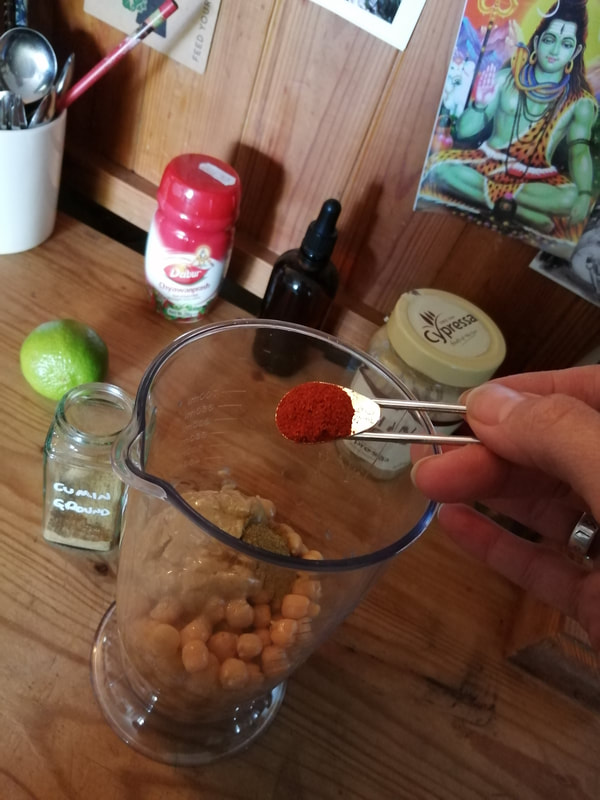
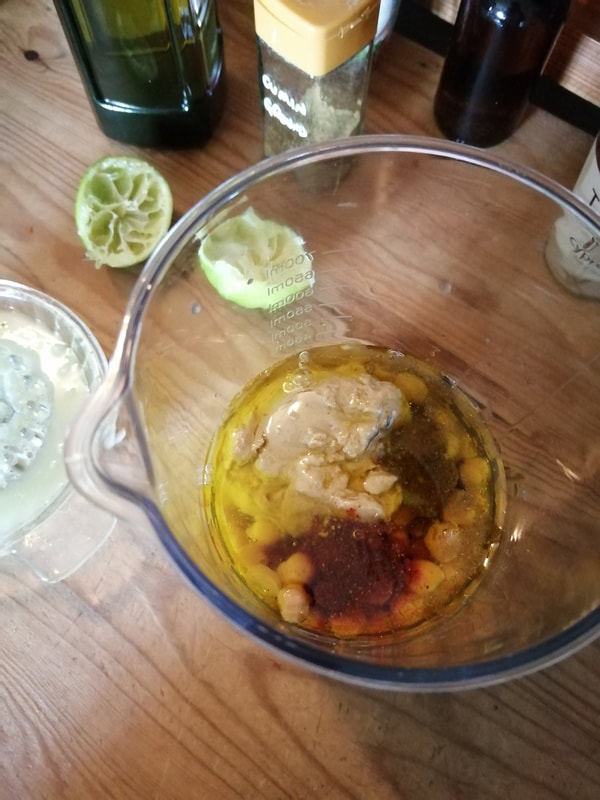
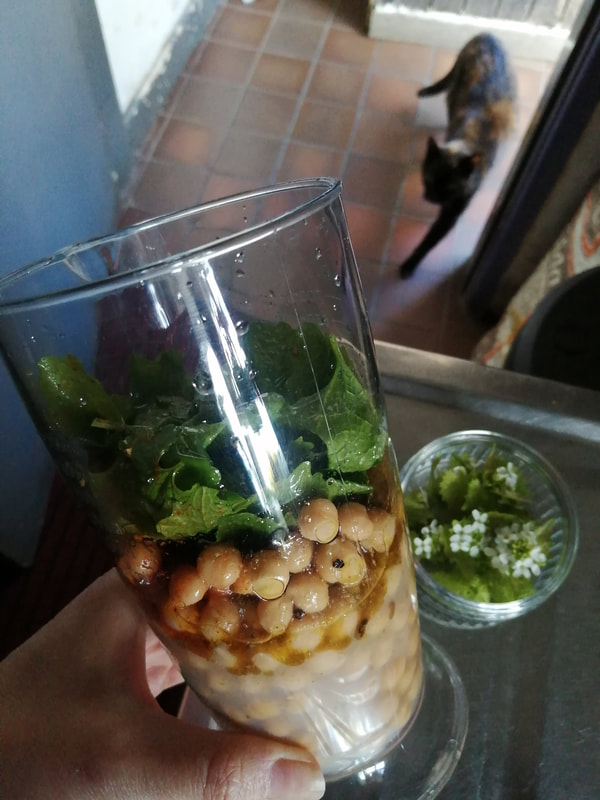
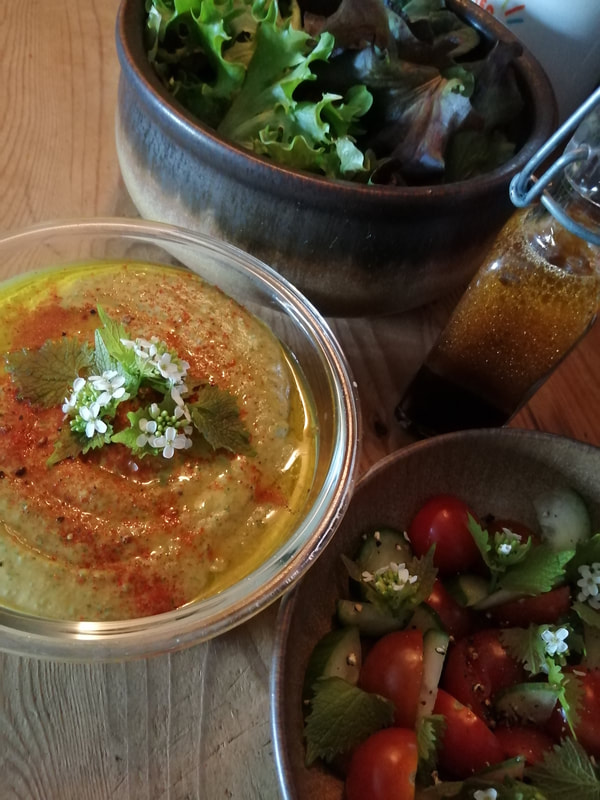
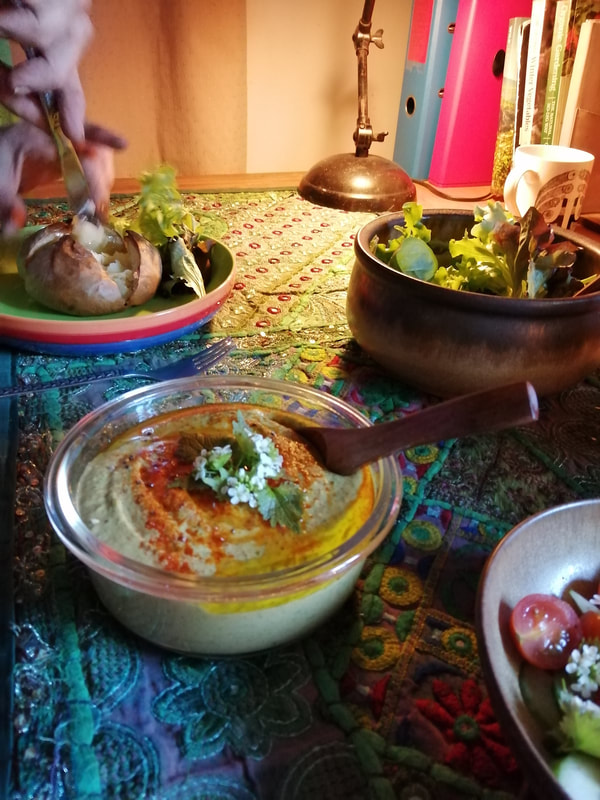
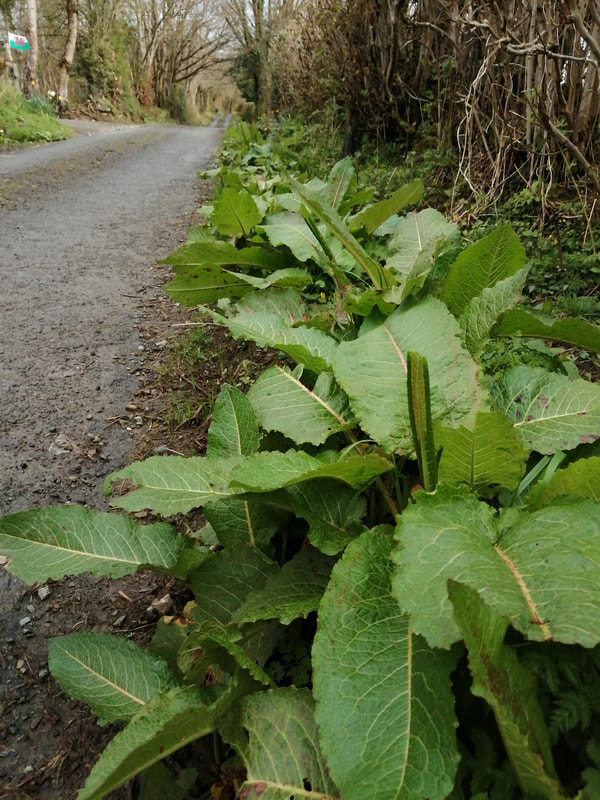
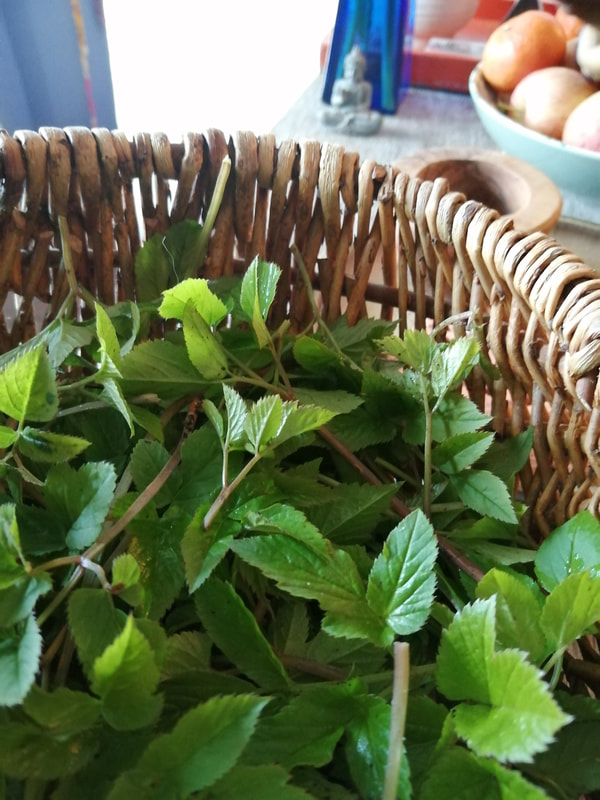
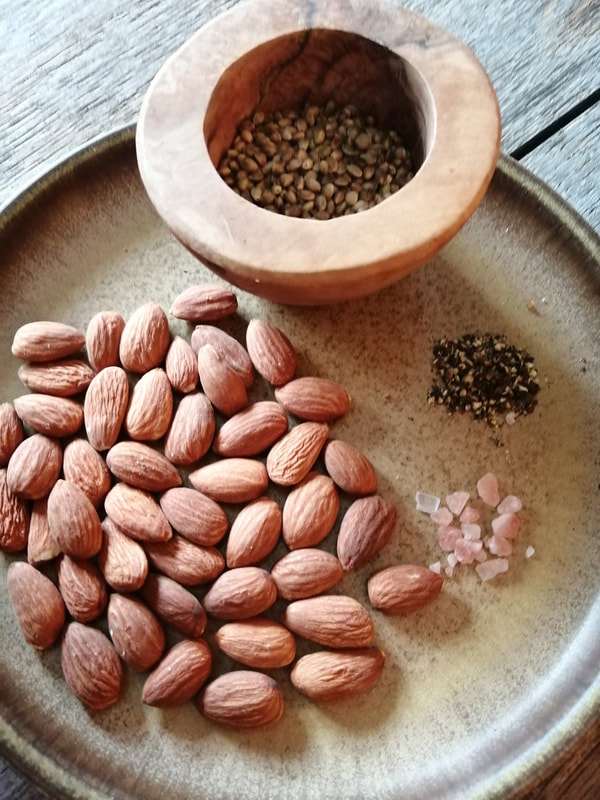
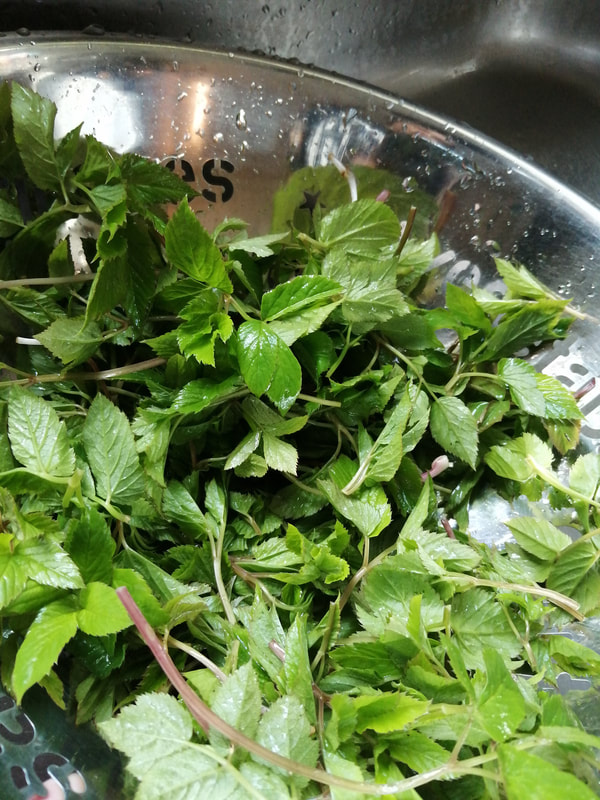
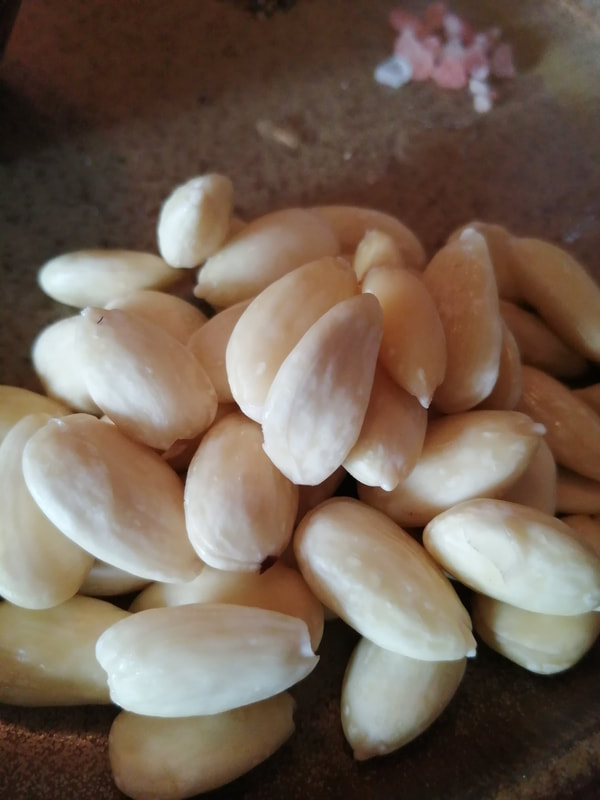
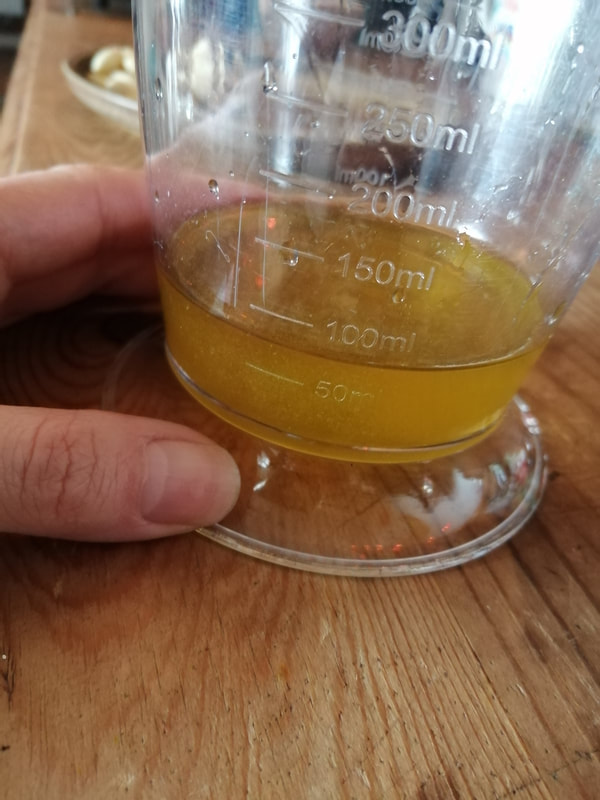
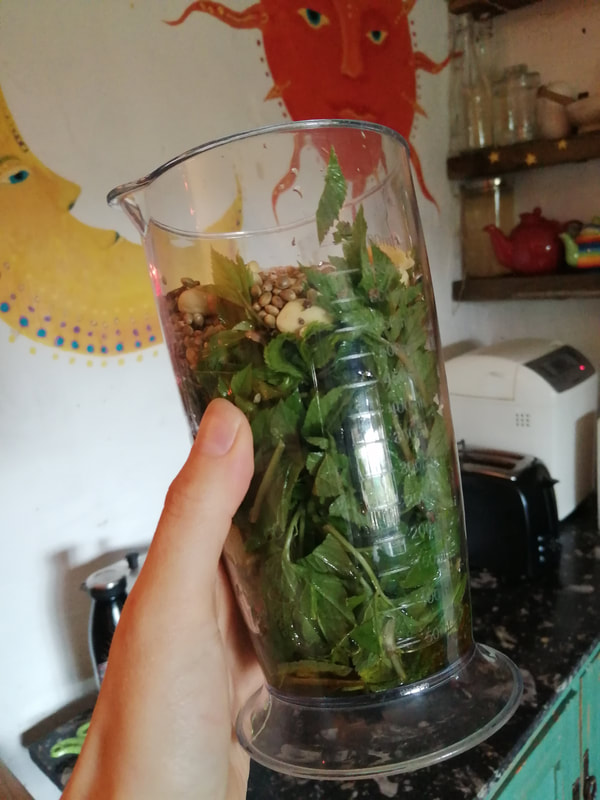
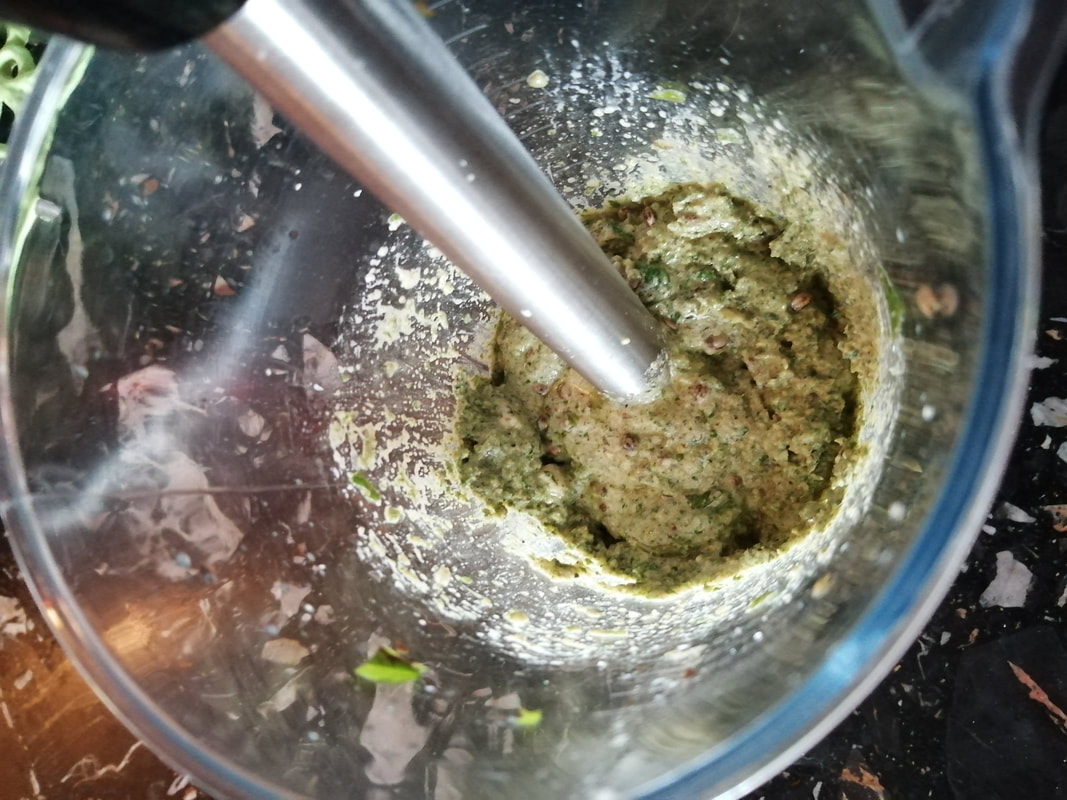
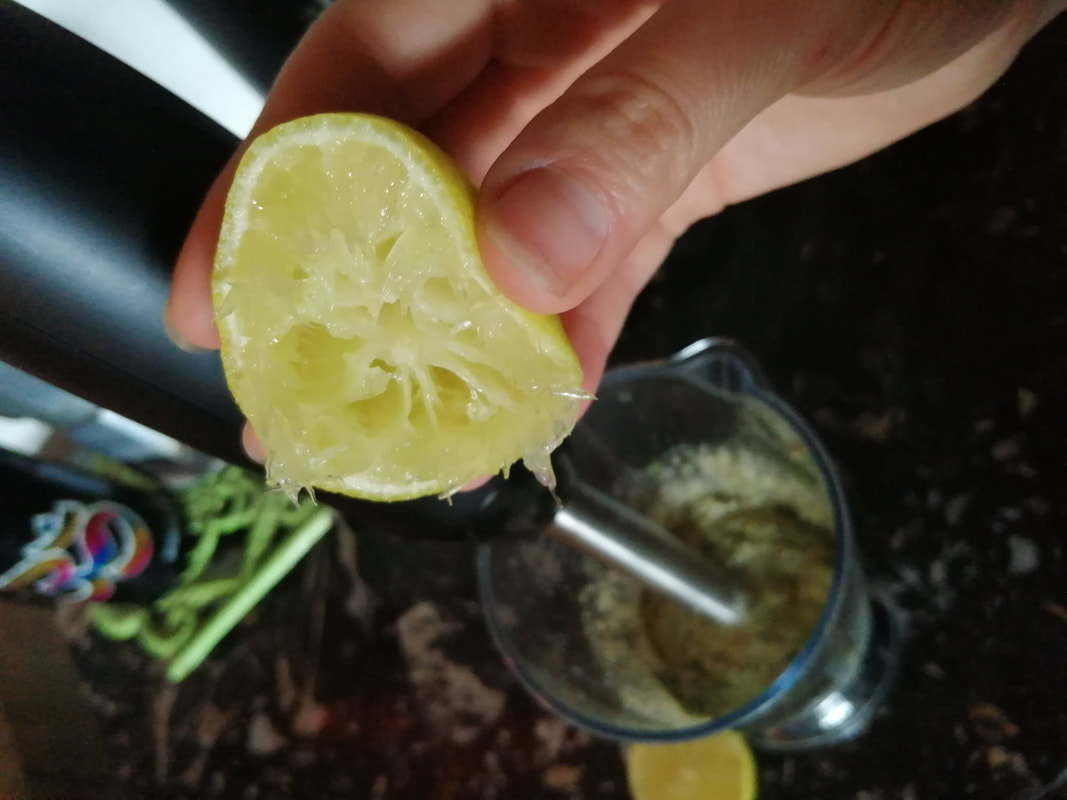
​If you've been following my recent foraging posts and recip(ish)es, you may have noticed a lack of onion and garlic in my kitchen. I've never been able to tolerate raw onion or garlic but as I've got older I find alium generally difficult to digest. Leeks, in small quantities is OK and on the rare occasions I'm eating away from home I can tolerate a little, well cooked onion and garlic but on a day to day basis I just don't cook with it. It's unfortunate for me that onion and garlic seem to have made their way as standard into almost every veggie or vegan dish and tragic indeed that one of my all time favourite foodstuffs, that trusty vegan staple that is houmous, is so often 'polluted' with the travesty that is actual raw garlic. Shock horror! I've found that it's perfectly possible to make an entirely satisfying houmous (my houmous has been variously described as 'delicious', 'banging' and 'a triumph') by simply eliminating the garlic... But never let it be said that I'm not up for an experiment... And there's a new kid in the hedgerows!

I'd like to introduce the biennial, native, garlic mustard! An attractive, delicately flowered, broad leaved relative of cabbage,  mustard and watercress amongst others, you can use every part of this pretty plant in the kitchen. While the root can be said to have a horseradishy or wasabi like flavour, the leaves and flowers are great in salads and in cooking as an alternative to garlic. 

Therapeutically, garlic mustard has been used as an antiseptic, for bruises and sores, coughs, colds and according to one text even kidney stones, though thankfully I've never had to try that one! It's the latest foragable to have burst up around Llanrhaeadr anyway so I thought I'd give it a go in some garlic free houmous! Happily, it was a great success and it'll definitely become a regular ingredient in houmous for me during its growing season, which should theoretically get me right through into September!

Here's an approximate guide for how to make delicious, banging, triumphant garlic mustard houmous. It's tasty, nutritious and super quick to make. I know every recipe says that and no, I never make a '30 minute' recipe in half an hour either, but it is simple. Really. Check out the gallery photos for visuals on quantity... And see if you can spot the kitty!
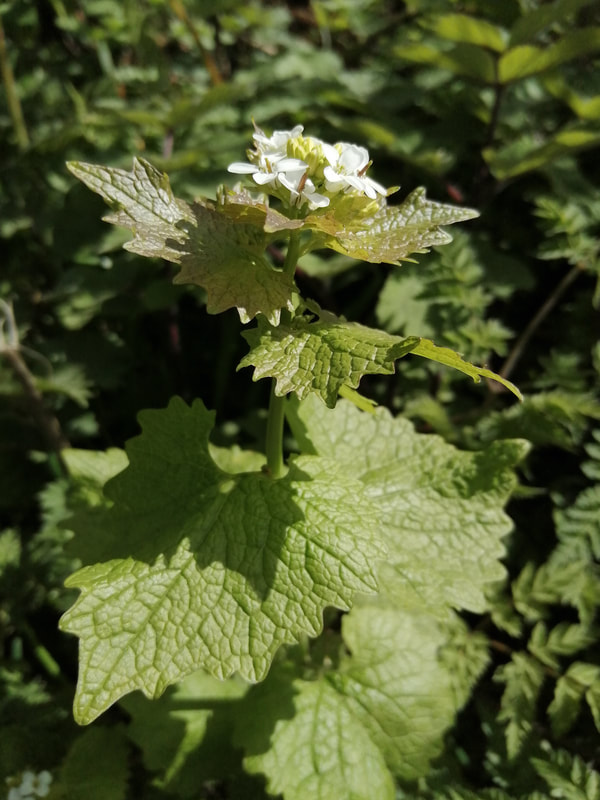
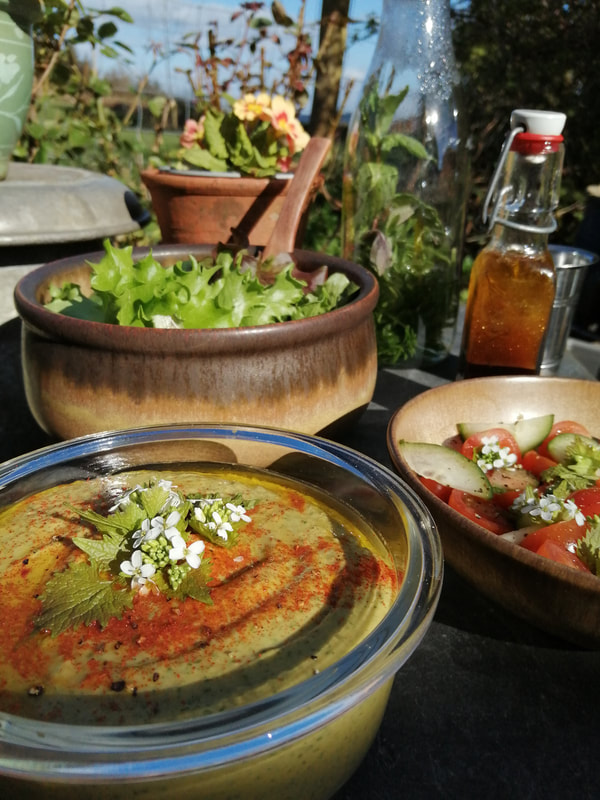
Garlic Mustard
Garlic Mustard Houmous

Garlic Mustard Houmous:

Pop a roughly drained tin of chickpeas into your blender jug or a vessel you can use a stick blender in. For 'rustic' houmous and if you've not got a blender, you could in theory use a potato masher, but, no. Get yourself a stick blender, they're great.

Add a couple of generous tablespoons of tahini, about a quarter teaspoon each of ground cumin and smoked paprika, then add freshly ground black pepper and sea or mineral salt to taste.

Glug a good dose of extra virgin olive oil to cover the lot and prepare your garlic mustard; simply snip the leaves and flowers off a ten to twelve stem bunch of the herb, keeping the flowers separate for decorative purposes! Wash and drain the leaves and add them to the vessel along with the juice of a lime (lemon is more traditional, I like lime) and blend the lot until it's smooth. Avoid adding more water if you can, you don't want it too runny!

Et voilà, garlic mustard houmous! Rich, creamy houmous with a garlicy tang, a gentle mustard after-glow and absolutely no alium related indigestion! There shall be much rejoicing! Serve with salad, crackers, fresh bread, crudités, grissini... Or my favourite, a great, big, steaming, hot baked potato! It will keep for a couple of days in the refrigerator, but you'll probably eat it all long before that's an issue.


Bon appetit! You'll be making it again, I promise! ​
0 Comments

Sorrel Soup

13/4/2024

0 Comments

 
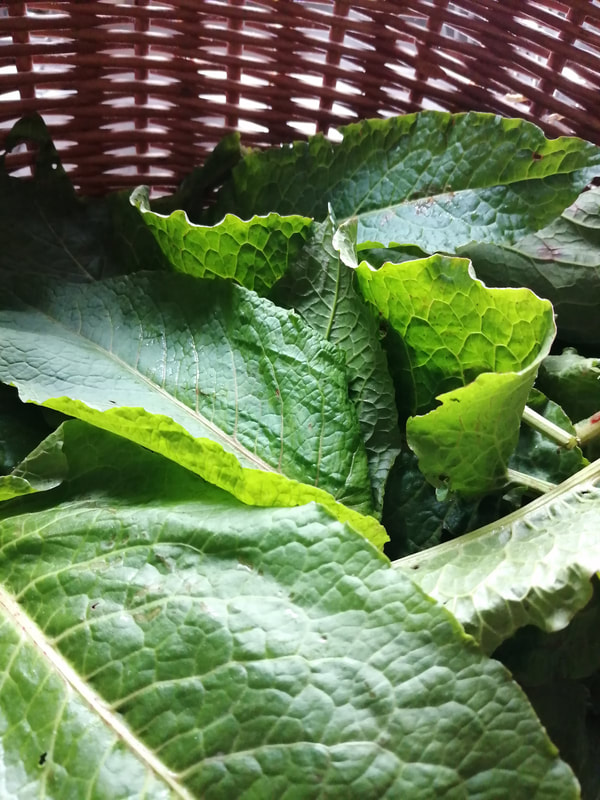
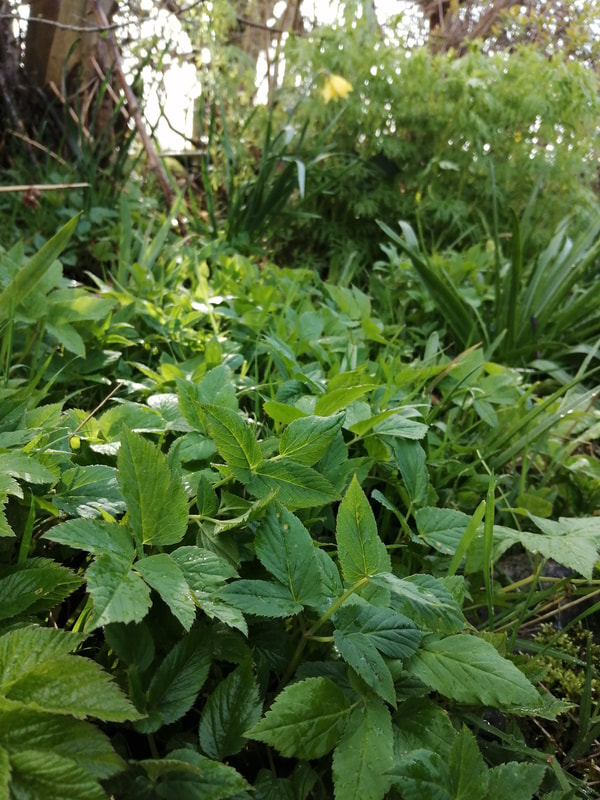
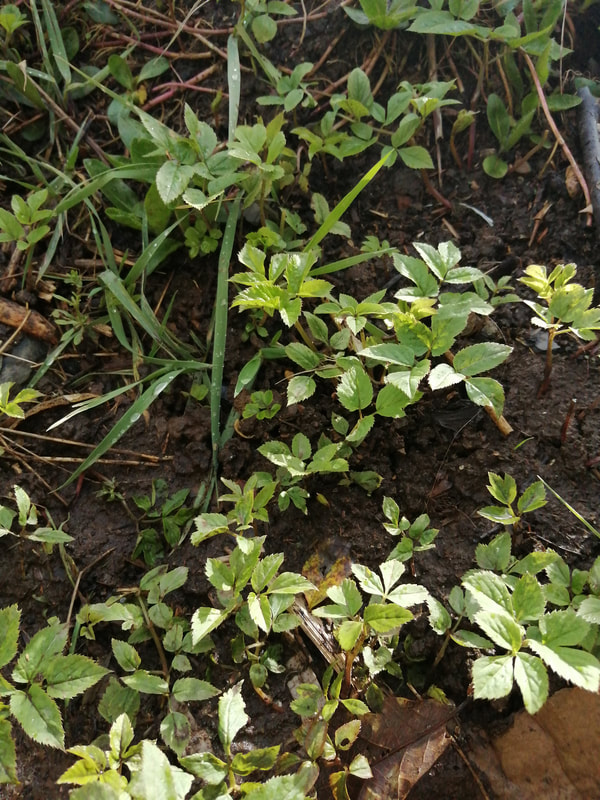
There's so much burgeoning growth in the hedgerows at the moment that I can't quite believe my luck and it seems like there's just one new plant after another unfurling itself and begging for a forage in recent weeks!
Todays freebie was a bundle of the thick, lush sorrel leaves that seem to be springing up everywhere this week! My first memory of knowing sorrel as a food source was when my gran made sorrel soup for us as a starter one Sunday lunchtime. She wasn't much of a forager and I seem to recall she bought it at the local veg market thanks to a Delia Smith recipe! I'm pretty sure it's a popular Eastern European dish and I think sorrel features more in French cooking than British, which is strange since we have it in such an abundance! It's from the same genus as dock (remember that on your nettle stings!?) and can generally be used a bit like spinach.

As with so many plants, when you're foraging, aim for the youngest, freshest leaves which are less fibrous and have a subtler flavour. Sorrel is reputed to be high in antioxidants, vitamins A and C as well as being astringent, owing to its high tannin content, which can be helpful in drying up mucous membranes.
Wild Sorrel
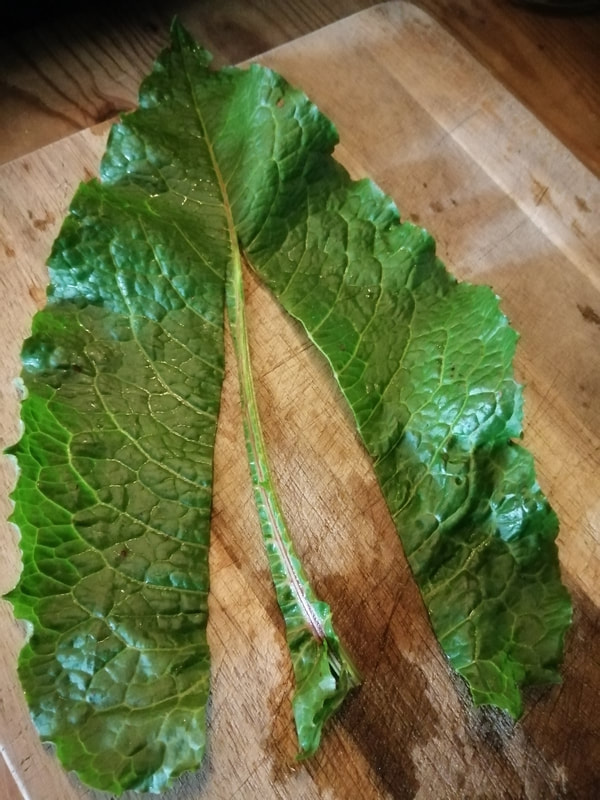
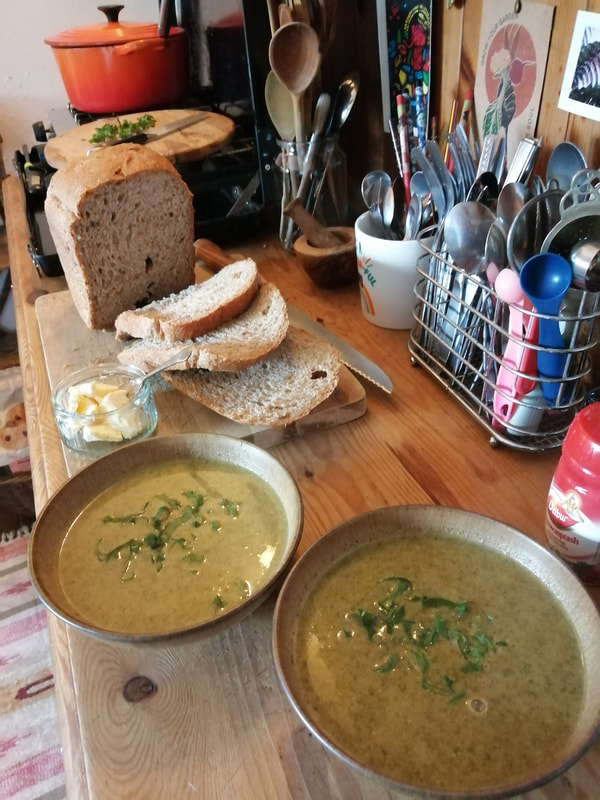
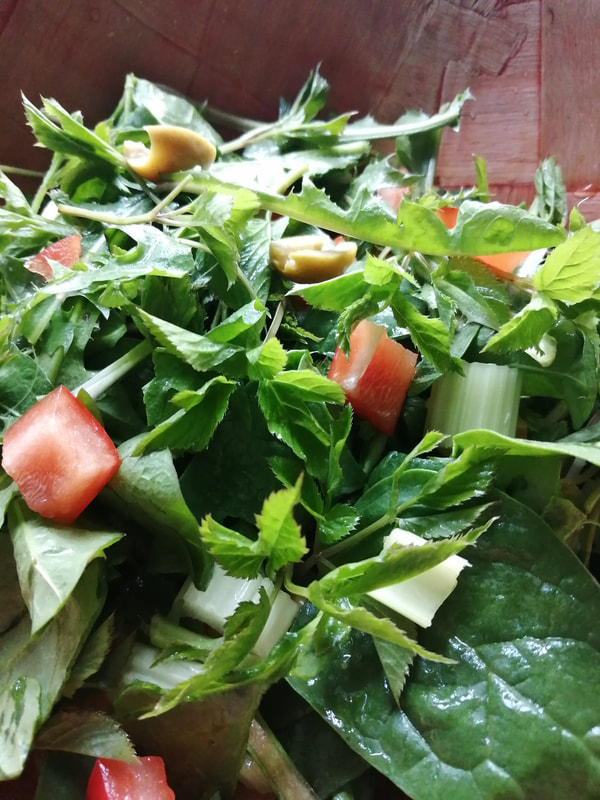
With those qualities (and more!) I think this would be a great dish if you're bouncing back from one of those spring colds that seem to be rampaging about at the moment! It's got a distinctive flavour, slightly more like kale or cabbage* than spinach, a little bit lemony, quite sour and slightly bitter. There are, of course, hundreds of sorrel soup recipes out there but here's my version!

Sorrel Soup Visual Voyage:


​​Starting with a favourite base of finely chopped celery, carrot and leek (you'll notice I don't cook with onion or garlic, I don't seem to digest it well as I've got older but feel absolutely free to use it as you'd like, wild garlic would probably be amazing!), fry the finely chopped veggies off in a little cooking oil before adding salt, pepper, and about a cup of cooked red lentils. Many soup recipes use potato as a thickener but I prefer red lentils, which blend away to a thick paste with an unobtrusive flavour just like potato, but give the soup a boost of protein at the same time.

Add half a tablespoon of dried dill and let it cook for a bit. Meanwhile, you can trim the woody stems from your (well washed) sorrel leaves, though very young leaves may not need it. You can then slice it finely much like you would prepare kale.

​Wilt the leaves into the cooked veg base then add freshly boiled water. Turn off the heat and let it sit a little. Once it's cooled off, blend it up (I favour the good old stick blender, who wants to wash a food processor jug?!) and finally add a little nutmeg, a spoon of cider vinegar and a gentle glug of soya milk.

​You can make this in advance, just reheat it gently and don't let it boil (the milk might curdle... Don't panic if it does, just add a little more and whip out the blender again, that should re-homogenise it) and serve with finely chopped leaves to garnish along side hunks of warm, fresh bread. De-lish!

* Sorrel can also have the same effect on your tummy as cabbage... you have been warned! ;-) xx
Sorrel Soup
0 Comments

Goose Grass Juice!

11/4/2024

1 Comment

 
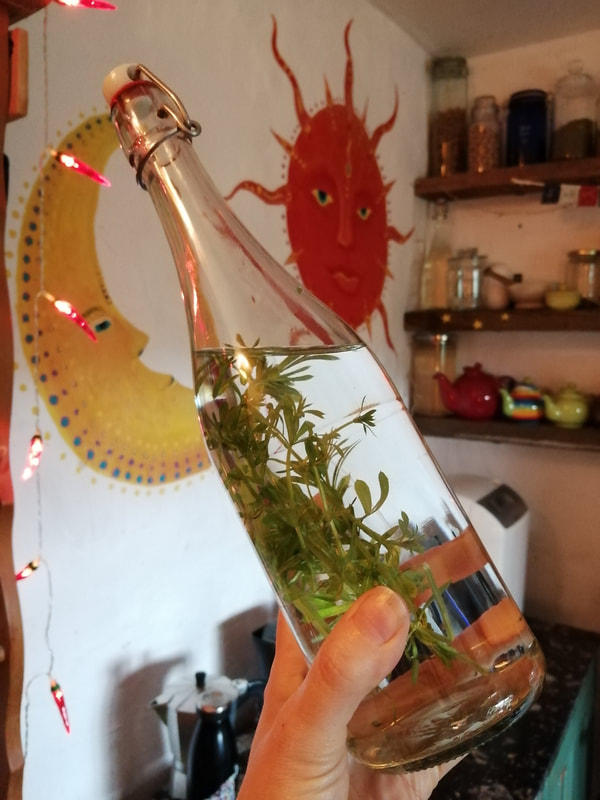
A while back I mentioned cleavers as a seasonal ingredient to my 'spring tonic tea' but I've been enjoying it as a refreshing, soothing medicine all on its own in the last couple of weeks, so I thought it was worth revisiting.
Goose Juice
I think I listed 'sticky weed' and 'sticky willy' as alternative names for cleavers but I recently found that it has yet another moniker that it earned when being used for feeding geese and chickens; goose grass! The juice is traditionally used as a cleanser, flushing out the urinary system with its diuretic function as well as supporting the lymphatics, which is just what you need at this time of year; a fresh start and a boost to the immune system! You can make tea, juice it in a high speed blender or add it to smoothies but I've discovered that simply giving it a shake in a bottle of water and letting it sit for a while is a really easy way of producing a subtly refreshing morning drink. I think it tastes a bit like cucumber, Nik's not sure about that comparison but still enjoys it! It's also supposed to be a good treatment for skin conditions such as eczema and we've found the bright green sap useful for taking the itching out of his sunlight induced hives (yes, already, at this time of year, poor sensitive soul!). I've also used it successfully to soothe nettle stings when out on a (careless) forage! If you want to give it a go, simply roll up a handful and rub it between your flat palms until you extract the juice then apply it topically. Of course, if you've any history of plant allergies or hayfever please take care of yourself and use with caution! X

1 Comment

Ground Elder Pesto

6/4/2024

0 Comments

 
Ground Elder
There are few things more wholesome than cooking a genuinely delicious meal from vegetables you've grown, from seed perhaps, in your own garden. But I have to say that cooking a delicious meal from food you've weeded out of your garden to make way for said veggies is possibly even better. My 'to do' list yesterday morning included 'weed herb bed' and 'make packed lunch'... That I managed to do both of those things  in (sort of) one go was incredibly satisfying!

Ground Elder is an absolute scourge here, despite Nik's attempts to smother it into submission with acres of cardboard. It would be a losing battle before I even started to think I could make a dent in it across the whole garden but at the moment I've got a particular interest in keeping the herb bed free of the things that would threaten the optimum development of my poor little newly rooted cuttings. They're already at such a disadvantage thanks to the unseasonably dull, wet weather we seem to have been receiving across the country of late, so it's a good place to start!
We can thank (or maybe blame!) the Romans for introducing this cousin of the carrot to our shores apparently, as they were fond of using it for culinary as well as medicinal purposes. One of it's therapeutic uses is as a poultice for arthritic conditions, in fact it's also earned itself the name 'gout weed'. To eat, I think it tastes a bit like a cross between parsley and celery. You definitely need to select the new leaves not the mature ones though, they're a bit too tough and develop a more pungent flavour that would, shall we say, be an acquired taste!
By far the easiest way to prepare ground elder for the table is to chuck it in a salad, possibly with a few young dandelion leaves for an extra foraged boost. You can also wilt it into pasta like spinach or simply fry it in olive oil as a side dish. I had a little more time though, so here's another foraged, seasonal visual recipe! It's still pretty easy and there's lots of room for tweaking it to meet your preferences and current larder without a trip to the shops. To be honest, I think that would rather undermine the food for free ethos anyway!

So, this is my take on a kind of foraged pesto. I seem to recall that 'pesto' just means 'paste', so whilst there may be no basil, pine nut or parmesan anywhere near it, it's entirely accurate to label it such! As ever, check out the gallery photos for ideas on quantity. First, pick your ground elder shoots, early in the morning if possible, choosing the youngest ones you can. My technique involves ripping a big, careless handful off the top layer then being a little more discriminating with the new shoots. It's not like we really want to encourage strong healthy plants, so that's how I get to justify this as 'weeding' too! 

Foraged Salad
(Mostly) Foraged Salad!

​Give the leaves a good wash, pick out any bits of grass (or just decide it probably won't do you any harm) and set aside to drain. If you're organised (I wasn't) you'll have soaked some almonds overnight but you can speed things up by using boiling water to blanch them. They pop out of their skins in a surprisingly pleasing way, once they've cooled down a little. Chuck a really good glug of olive oil in the container you're using to blend, then add two or three large handfuls of ground elder along with your nuts (I used the aforementioned blanched almonds as well as some hemp seeds), some salt and a bit of pepper. Blend away!

With my quantities and blender, I found it needed just a tiny more liquid but I didn't want to add more oil so I used the juice of half a lime, which I thought also added some serendipitous flavour! Finally, I chucked in a little nutritional yeast as a nod to the traditional parmesan; and that was that!

​Use as you would any pesto, in pasta or maybe with bruschetta. I stirred mine into some wholemeal penne (with some chickpeas for extra protein, which made an excellent pasta salad for my packed lunch yesterday and left enough for us to have today as well, though I added some green peas to that for a flavoursome boost and stirred in a little unsweetened soya milk to stop it sticking.


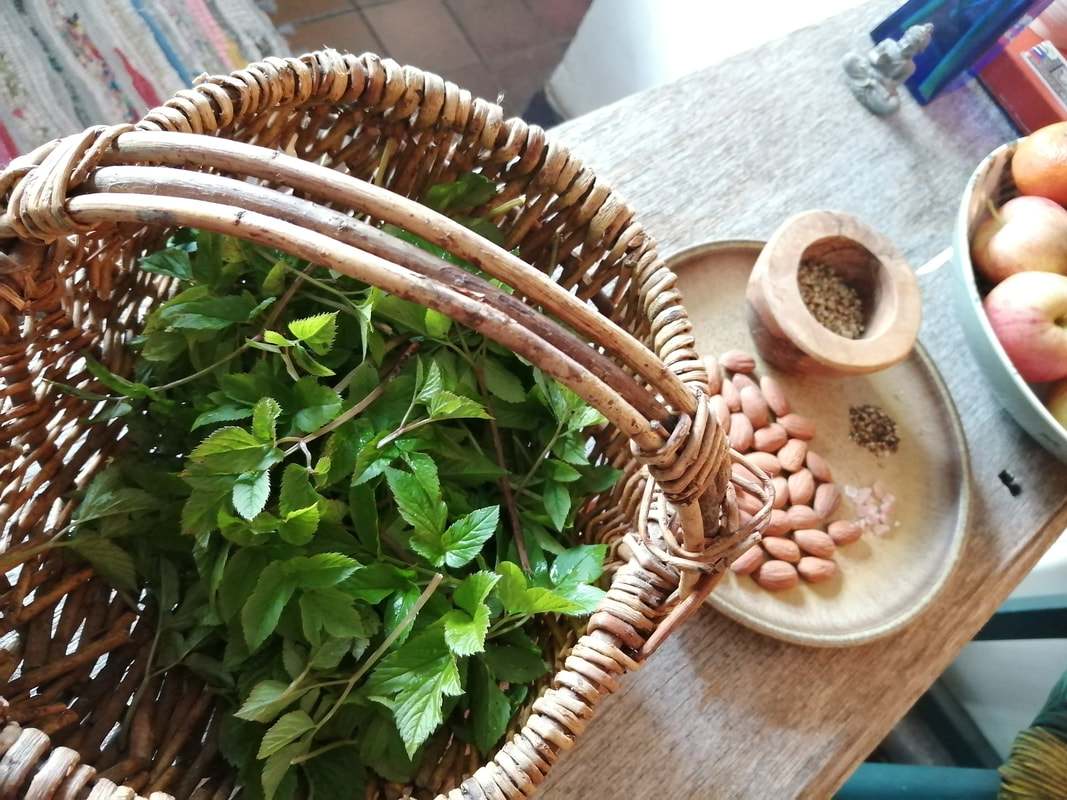
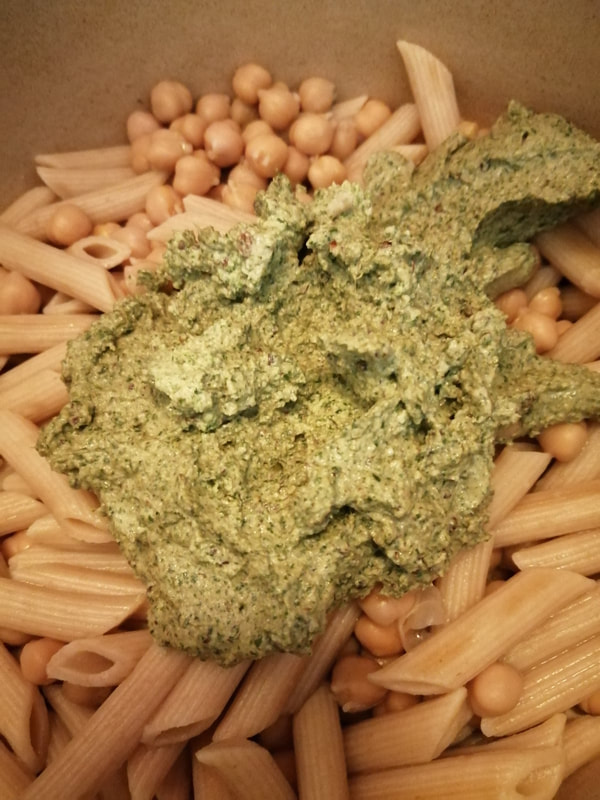
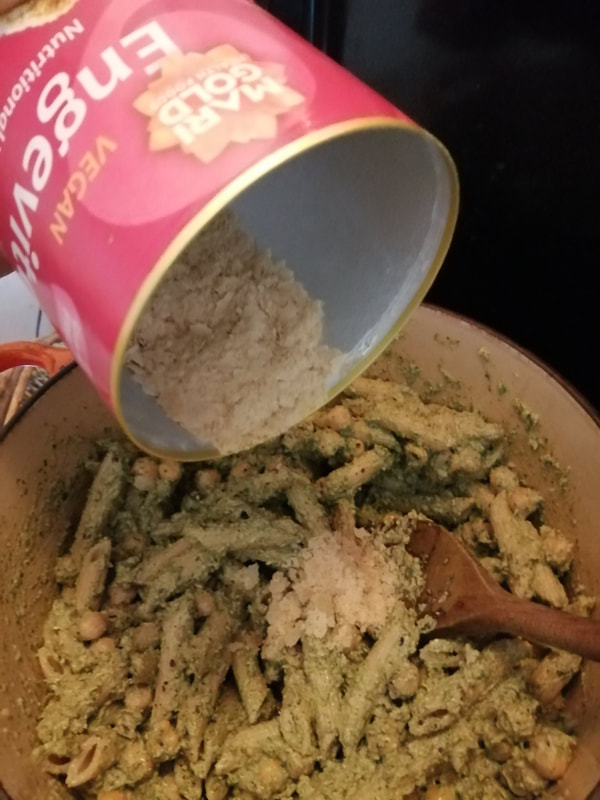
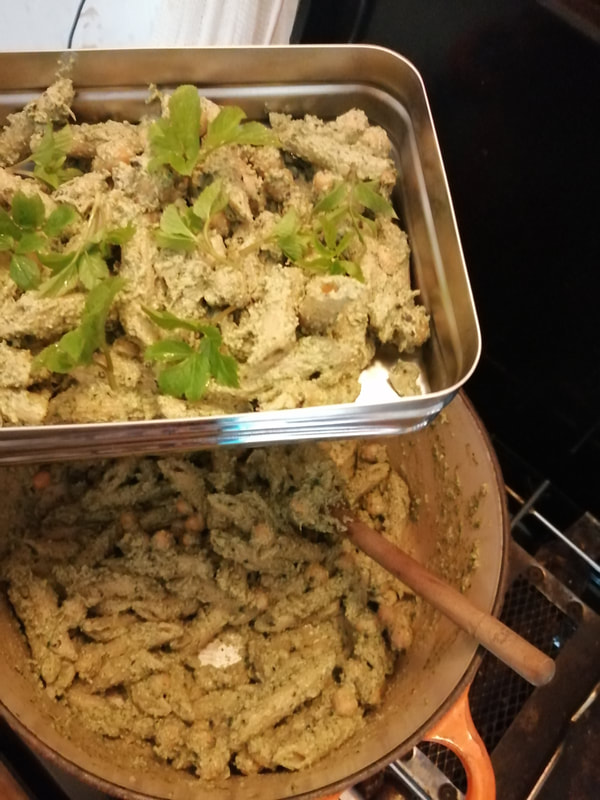
Fresh ground elder pesto pasta two days in a row and 'weeding' very temporarily crossed off my list of chores! Perfect! Wishing you an equally satisfying foraging-come-gardening adventure this weekend! May your tummy be full and your herb beds clear! With love until next time. Xx
0 Comments

Spring Tonic Tea

28/3/2024

2 Comments

 
Some of my favourite things to bring to my culinary frolics at this time of year are teas and infusions from freshly growing shoots. There’s just something that feels deeply nourishing to me about stepping just yards from the kitchen door and doing a bit of weeding (well, that’s how I pretend I’m helping Nik in the garden) before brewing up a delicate tonic, full of the promise of spring and a cocktail of nutrients that nature deems appropriate to make available just now.
​
​The term ‘weed’ in my book, simply means ‘plants growing in inconvenient places’ but I did actually go a little further afield (maybe ten minutes up the lane) today to find a crop of dandelions which inconveniently weren’t growing in the garden!  I think that counts as a proper forage! I also grabbed a handful of cleavers to add to the pot! (cleavers is also called ‘sticky weed’ and sometimes ‘sticky willy’ but I avoid the latter term myself, ahem.) Dandelions are famous for having a diuretic effect and cleavers are also traditionally utilised to benefit the urinary tract and renal system so this blend is a real flush-you-out spring cleaning detox of a tea. Here’s how I make it:
Fresh Herbs and Flowers
You want to pick your flowers and greens as soon before making the tea as you can. Once they wilt, they lose a lot of life and flavour, as well as actually starting to look like weeds, or worse, a compost heap! Give them a gentle wash and carefully relocate the mini-beasts that emerge as soggy refugees from your crop. Remove the flower heads from the stems. The leaves can be lovely in salad (note to self for a future post!) but I’ve never found a pleasant use for the thick hollow stems that seep sticky, white and very bitter sap. You really just want the flowers! Get some water boiling (I’ve been using a lovely old copper pot which I’d like to think adds a bit of extra micro nutrient to the brew!) and then reduce it to a simmer. Add the flowers and cleavers, but you really don’t want to boil them. For this tea, I added the juice of half a lime, but note, if you are also using a copper pot, best to add that the tea pot and then pour the tea onto the lime juice. Acidic things in copper pots are liable to result in a little bit too much extra copper in your diet! You could also sweeten it. When I was living in the Taraloka community, we often had organic apple juice concentrate in the ‘fridge and a little of that worked very well with the light flavours but I’d also consider using agave syrup (date would be too heavy) and if you’re not strictly vegan, there’s always the classic spoon of (preferably local) honey!

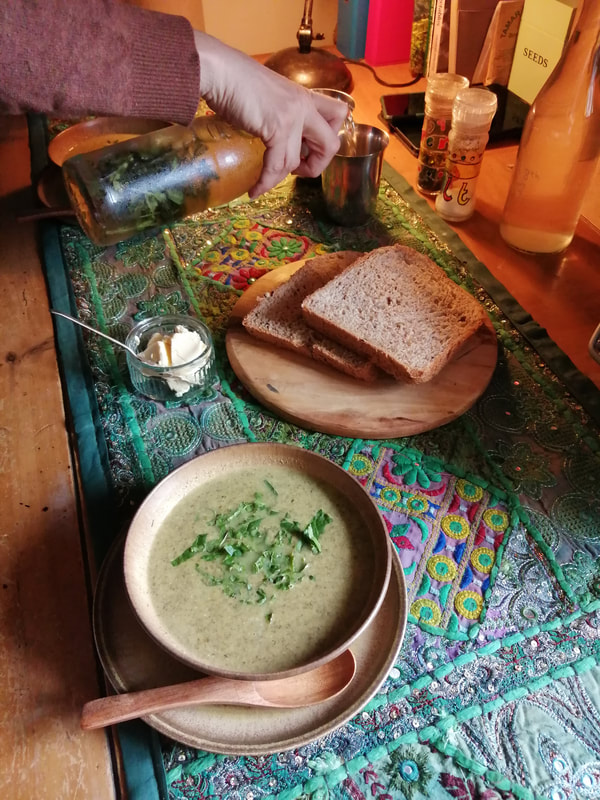
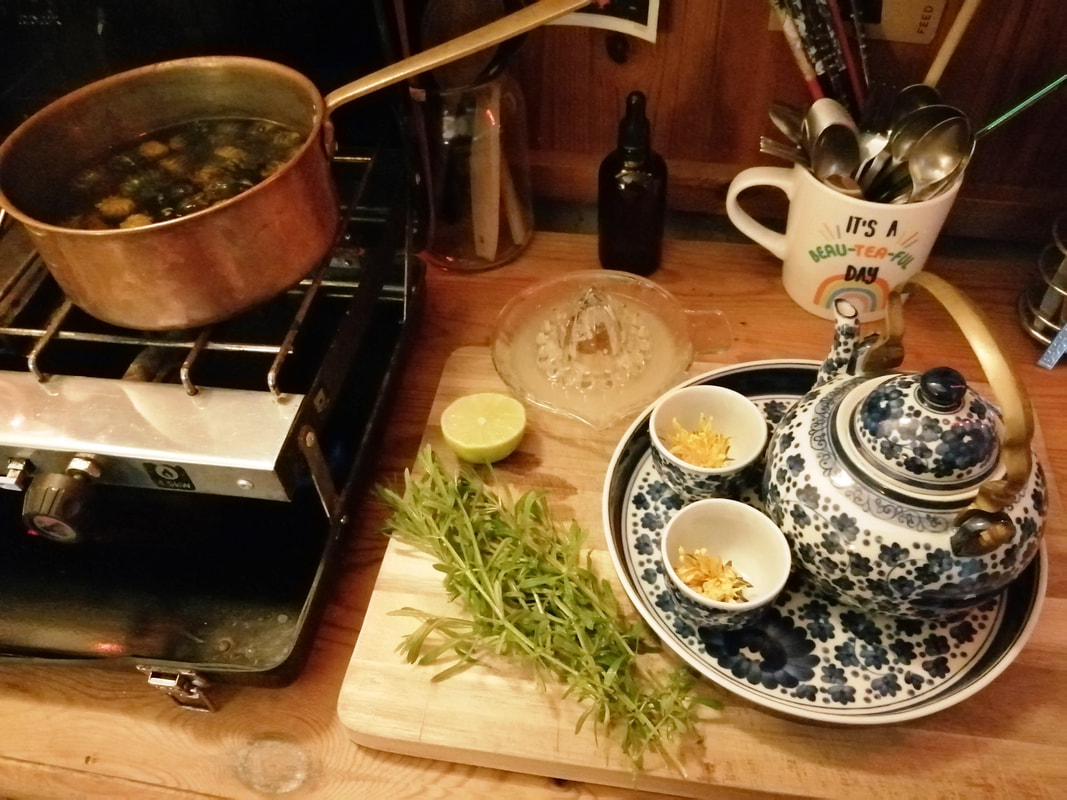
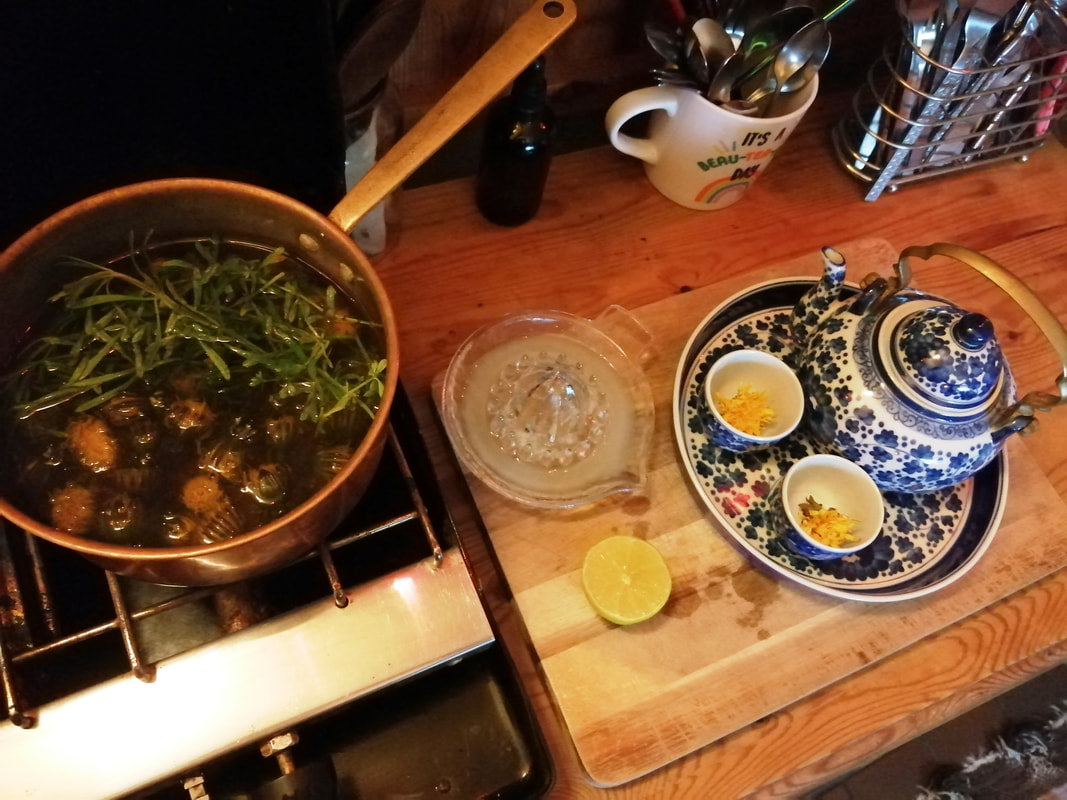
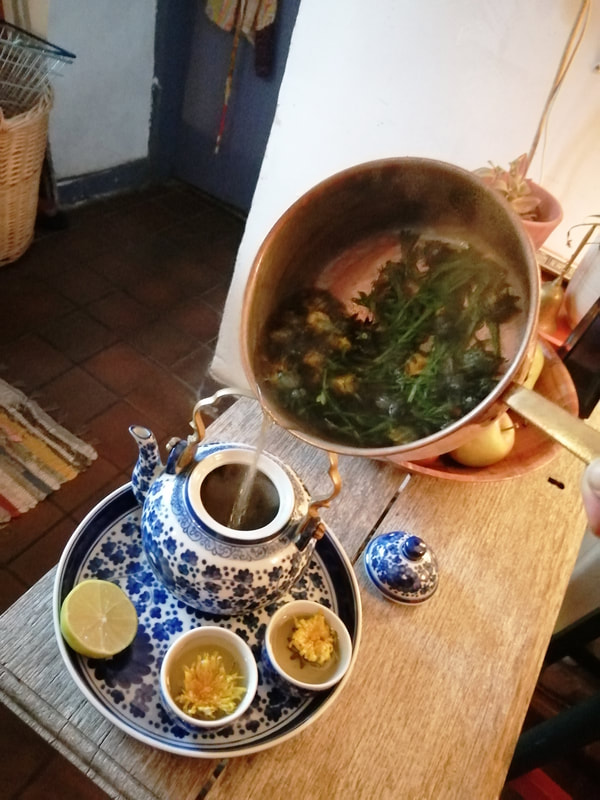
Other plants I’ve been brewing up recently include nettles (not just good for soup!) and fresh mint shoots… Mmmm, freshness! You could use any of those on their own or make a super brew! I’m also looking forward to my lemon balm getting more leafy; one of my favourite herbal brews! 

​
So there we are, as simple as that! It really doesn’t take long and it’s such a refreshing treat of a way to bring some spring time health and healing to your system. Incidentally, I always like to ask permission before I harvest any plant. I’d like to think I have a sense of when the answer is ‘no’ but it more often than not seems to be a ‘yes’.  At the very least I’d say it’s important to cultivate a sense of gratitude. How you communicate that is up to you but holding it in mind as you prepare, enjoy and benefit from the plants is part of the magic, I have no doubt!
​
Wishing you a joyful spring unfurling until the next post! xx
2 Comments

Nettle Soup!

26/3/2024

0 Comments

 
​In the last (first!) post, I promised ‘seasonal recipes’… and then slightly regretted it. Not because I lack excitement in sharing my culinary adventures, far from it, but because the word ‘recipe’ suggests a kind of measured restraint with which I do not cook. I did actually, in a previous life, run a vegan cooking website. What I’d invariably do is cook merrily into the early hours, flinging stuff about my kitchen, take photos of it, eat it, and then begin the arduous task of trying to guess, remember or approximate how I’d arrived at the outcome. Of course I had to use recipes when I was running the kitchen at Taraloka, otherwise the cooks wouldn’t necessarily know where to start, but I didn’t much use them when I was cooking and the occasional ‘helpful notes’ that were returned to me in the menu folder often betrayed my embarrassing inability to distinguish between theoretical quantities where zeroes were concerned. I once accidentally ordered 2.5 grams of mushrooms instead of 2.5 kilo​grams of mushrooms. The delivery driver kept a wonderfully straight face as he solemnly handed me a single cup mushroom dangling loosely in its luxuriously spacious carrier bag. Meh. Whatever.
So, I should like to correct my earlier statement, I’m not going to be sharing seasonal recipes in the formal, traditional sense. I shall be sharing visual guides to the (mostly) seasonal, vegan food I’m preparing for us to eat. Think of them as starting points and, should you feel you need it, feel free to then search out a more formal guide to quantities and cooking times! I do believe cooking should be an intuitive art, a creative act, a magical incantation, an alchemical method for transforming matter via the hopefully joyful activity of eating and I do hope you’ll find some inspiration and permission to begin flinging things about your own kitchen! These recipes will be plant based and will avoid processed food; that’s not to say I don’t occasionally indulge in a bit of vegan ‘cheese’ or a random veggie sausage but I do think preparing meals with minimally processed ingredients is by far the most healthful for person and planet. Fortunately, I also live with an experienced organic grower, which means that a lot of what I use will be home grown or foraged. Of course, if you want to try cooking something I’ve shared, you may need to make some adjustments!
Nettles
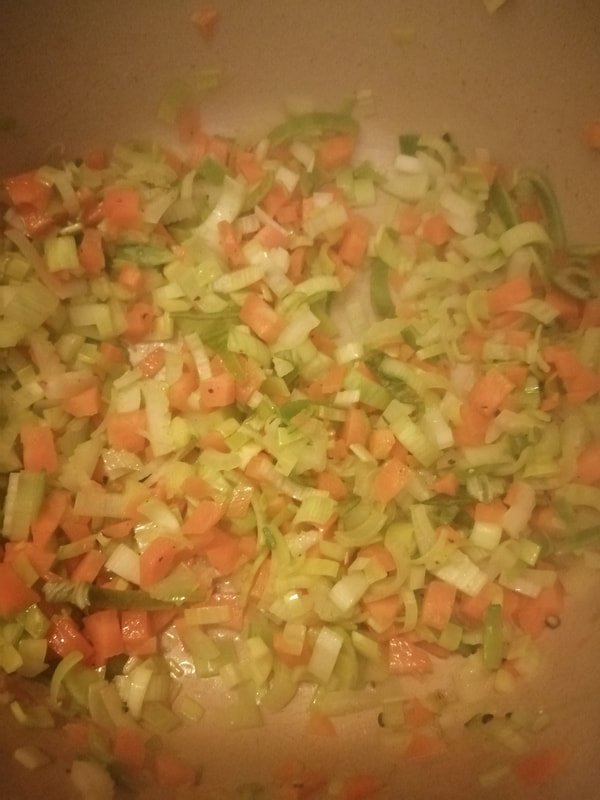
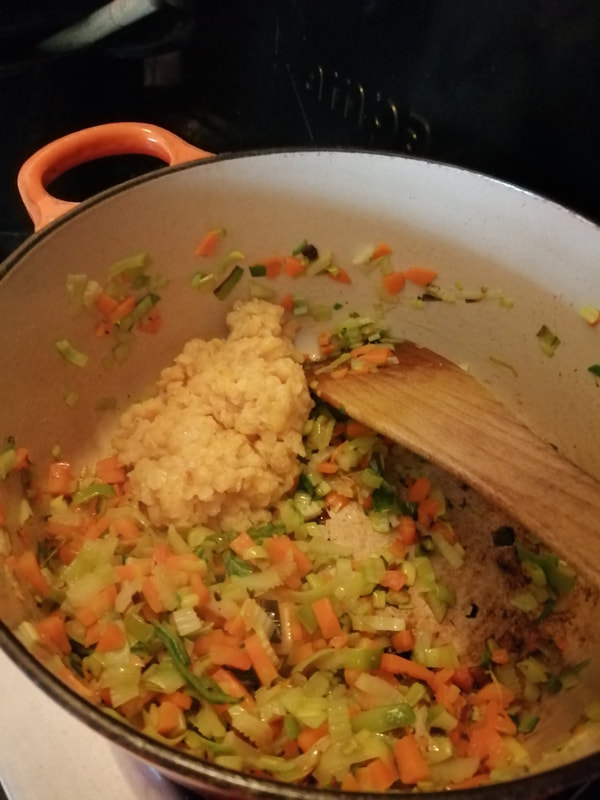
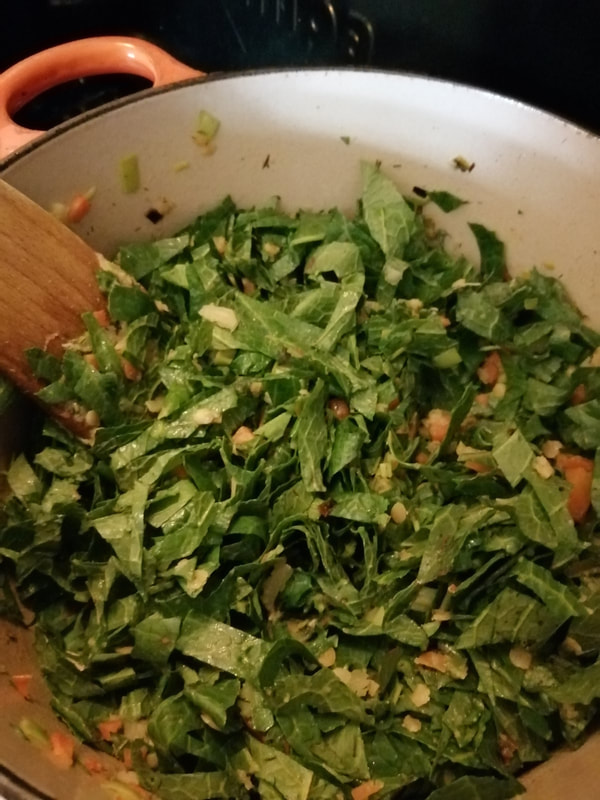
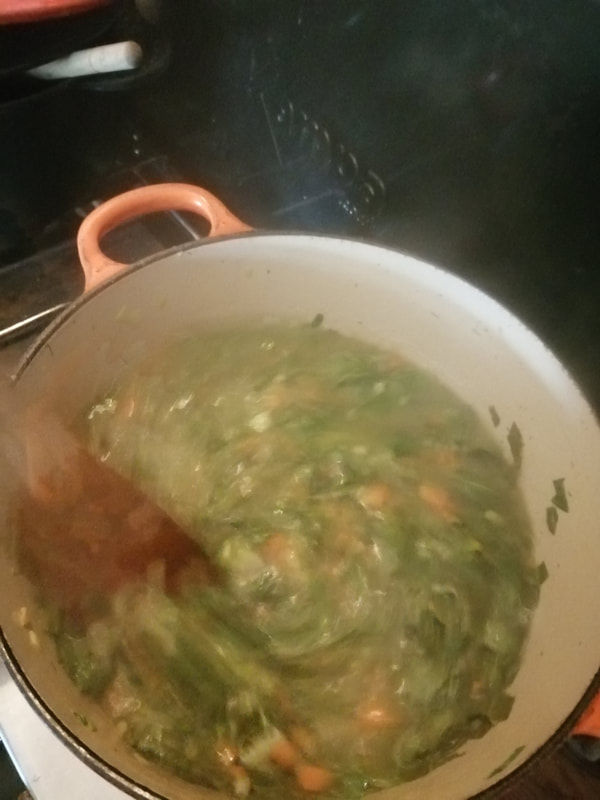
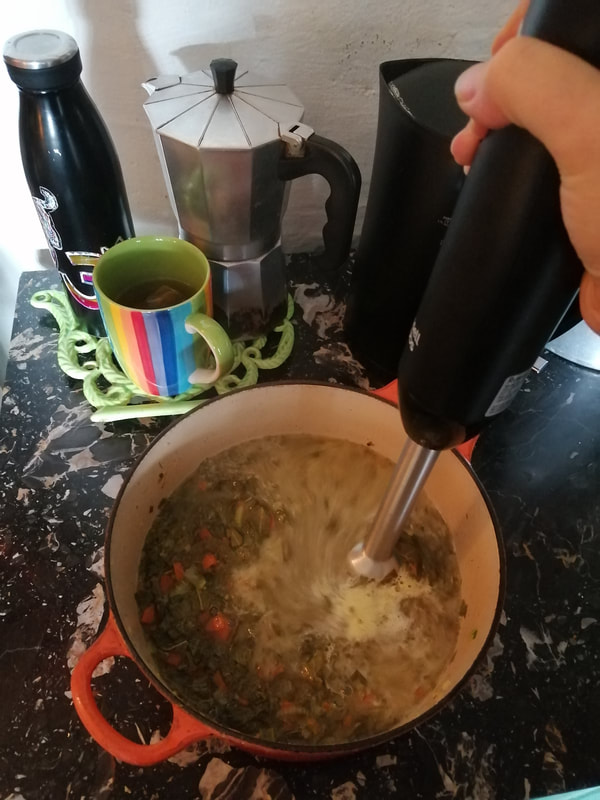
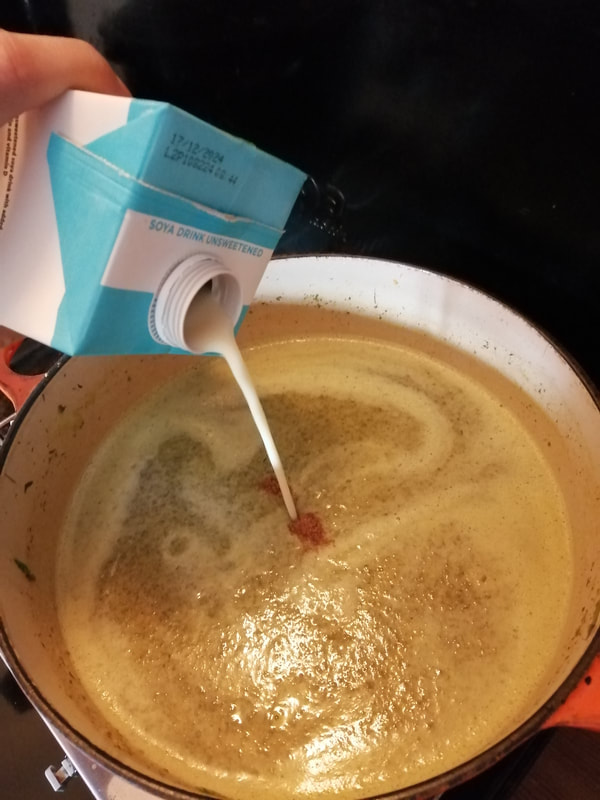
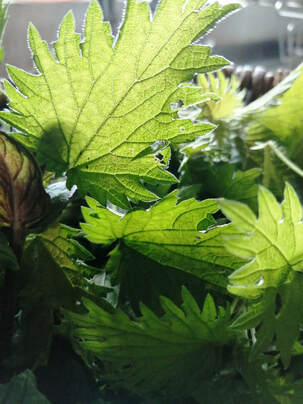
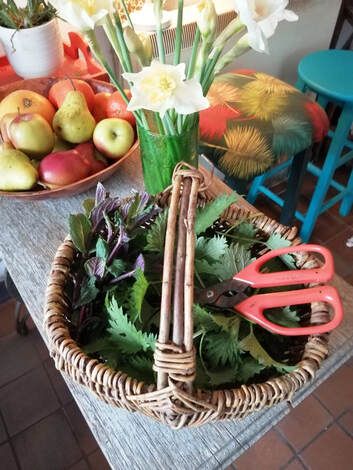
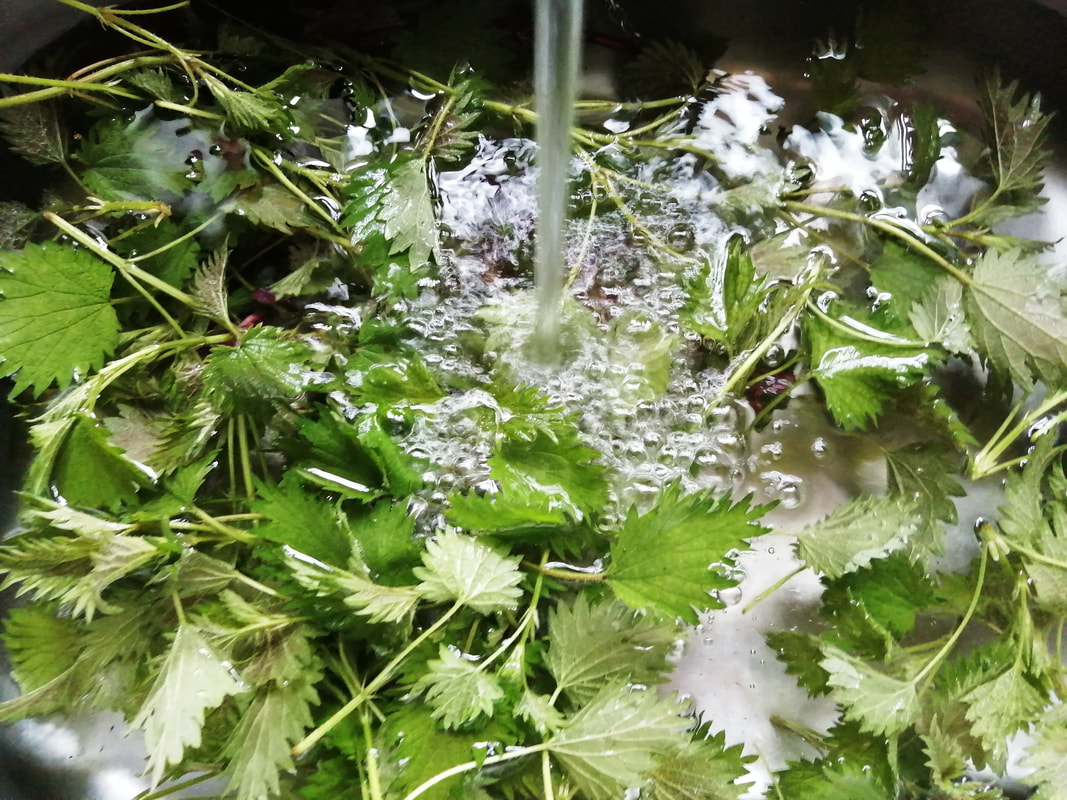
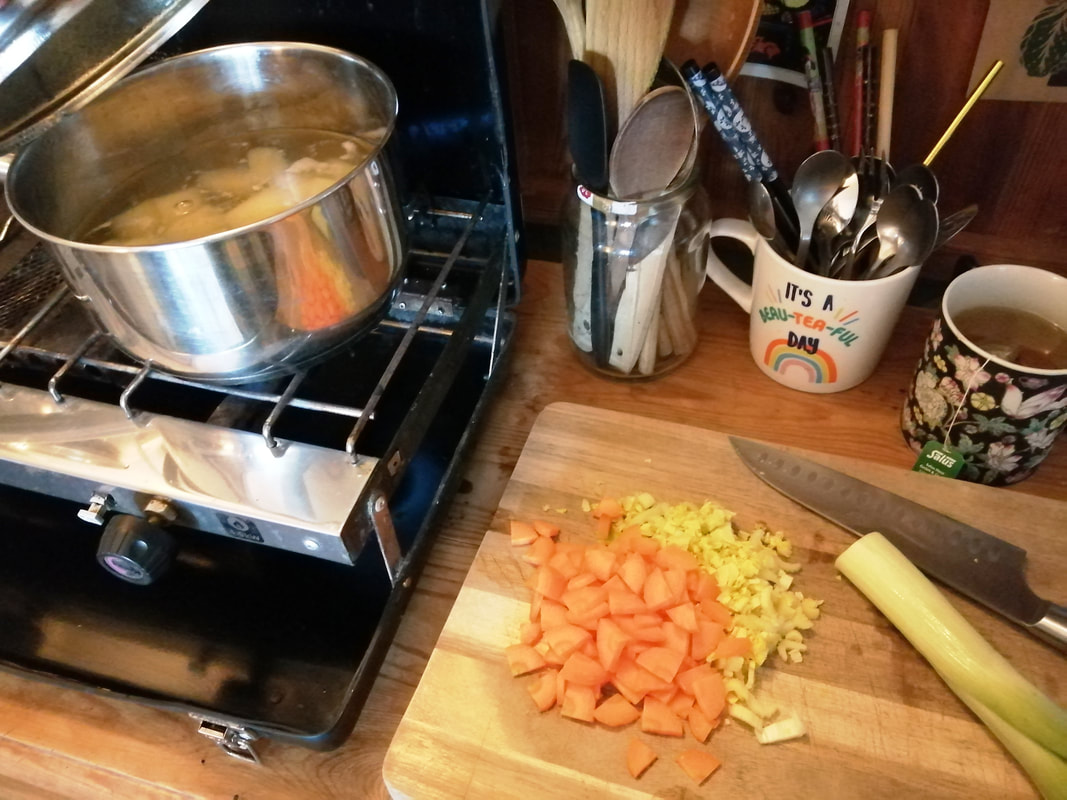
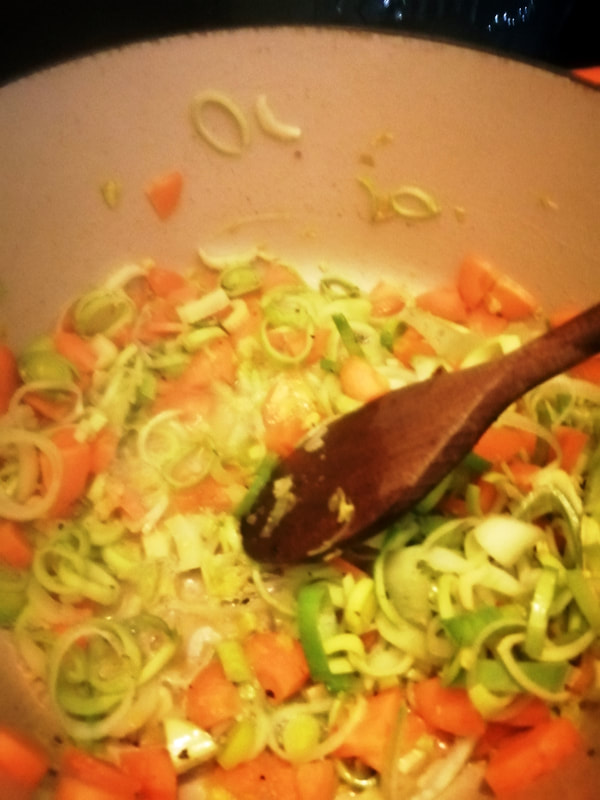
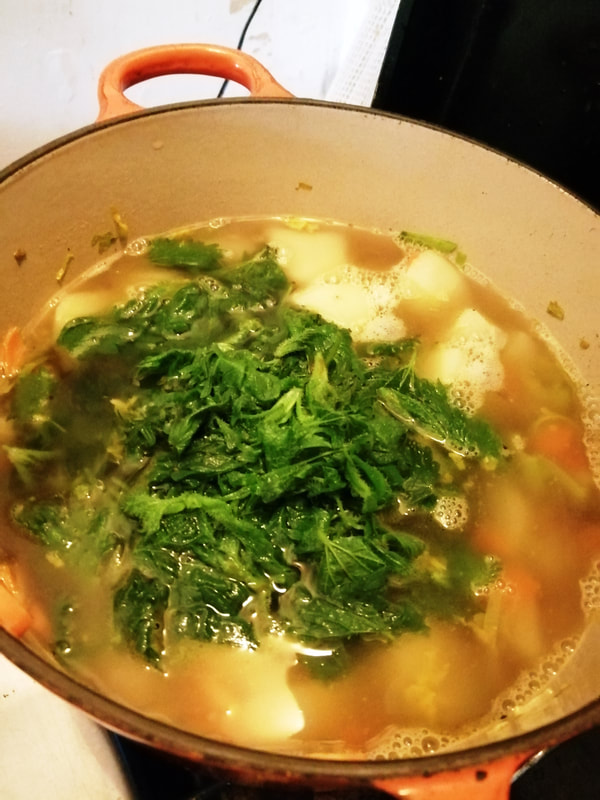
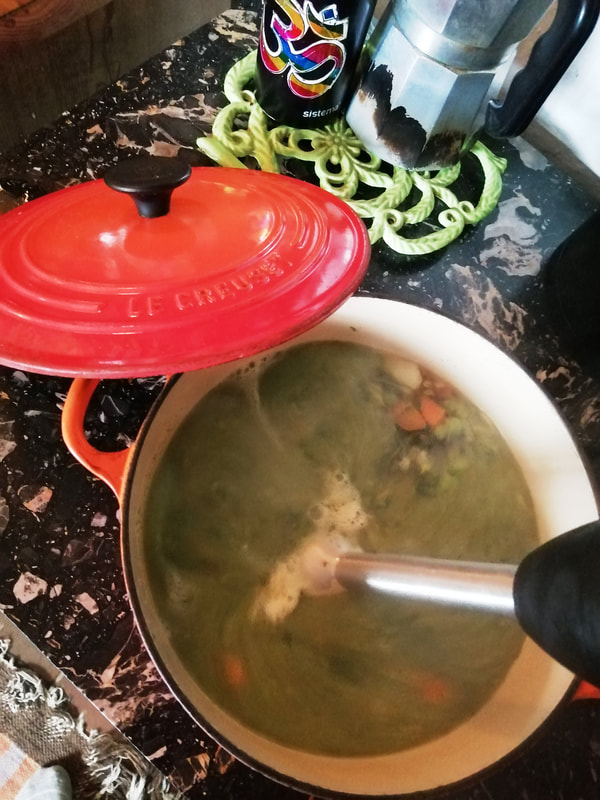
At this time of year, Nik’s only just getting the growing underway (though we’re looking forward to some pea shoots soon!) so it’s foraging first.  I’ve been doing my bit to help with the weeding by bringing nettles into the kitchen. I’m probably not really scratching the surface but it’s nice to think I’m playing a part in keeping them at bay! They also happen to be incredibly nutritious and full of vital, springy, stingy energy! Interestingly, I do actually have a nettle soup recipe on my old cooking site, which I’ll share for nostalgic value but the ‘recipe’ bears little relation to what I actually prepared for our lunch at the weekend which went something more like this:

​Nettle Soup Recip(ish)

Nettle Basket
Carefully wash a basketful of nettles (yes, we’re in an organic garden and there’s not much local traffic but there’s probably some agricultural runoff from the local fields and I know the dog’s not the only one to take a leak in random places). Please don’t ask me how big the basket was. Here’s a picture. Sting yourself a bit as you cut the leaves off the stems and then remember the gloves. Look in the ‘fridge and fish out some veg that looks like it would be happier in a stock than where it’s currently languishing. Roughly that sort thing, vague amounts will do, potatoes are a really good addition. I’ve recently discovered that potatoes are a much nicer addition to soup if you peel and boil them separately first. Apparently this helps stop them overpowering the other flavours and improves the texture. I’ve only tried it this once but I’m convinced. Having said that, if you’re short on time you could happily chuck them in with all the other veg, I doubt anyone would really notice. Chop the other veg and sauté it in some tasty fat (I used sunflower oil because it’s cheaper but I’d have liked to use rapeseed or olive) to get all the flavours going. Fat carries flavour, so for sure you can cook things in water if you need to have a very low fat diet for some reason... but I’m sorry to say it almost certainly won’t be as fully flavoured as it’s fatty cousin. 
This is a good time also to add black pepper, salt if you want it, herbs, culinary seeds, that sort of thing. All their flavours get in on the party too. Add some vegetable stock and let it do its thing for a bit whilst you blanch the nettles. That’s a posh word for ‘pour boiling water on them’. Depending on what you’re cooking, you might want to do that in a sieve but I kept them in their water this time so as to not lose any of their flavour or goodness down the sink! Hooray! No need to remember the gloves any longer, your nettles are now not stingy! Add them to the mix, complete with their lovely dark greeny-blue water and then have a mild panic about the lack of protein. Resort to the freezer and chuck in a handful (maybe a cupful?) of frozen peas with a sigh of relief. Cook it a little until they are defrosted and move on to the fun bit; time to release the stick blender! Up to you how smooth you like it. I tend to take this one pretty smooth but no reason not to keep it a bit chunky for character. It’ll hang out there for a little while but avoid letting it boil if you can. Flavours (and probably nutrients) tend to do better below 100 degrees in my experience. ​
Soup Pot
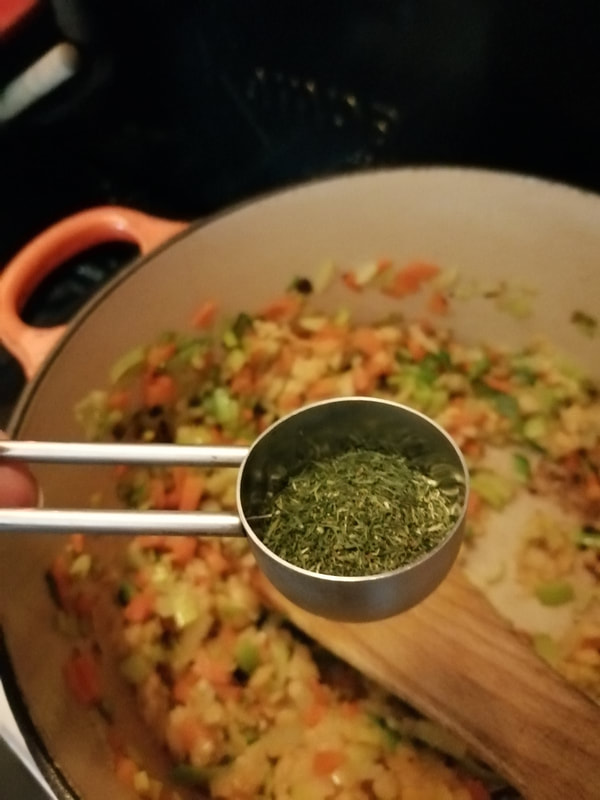
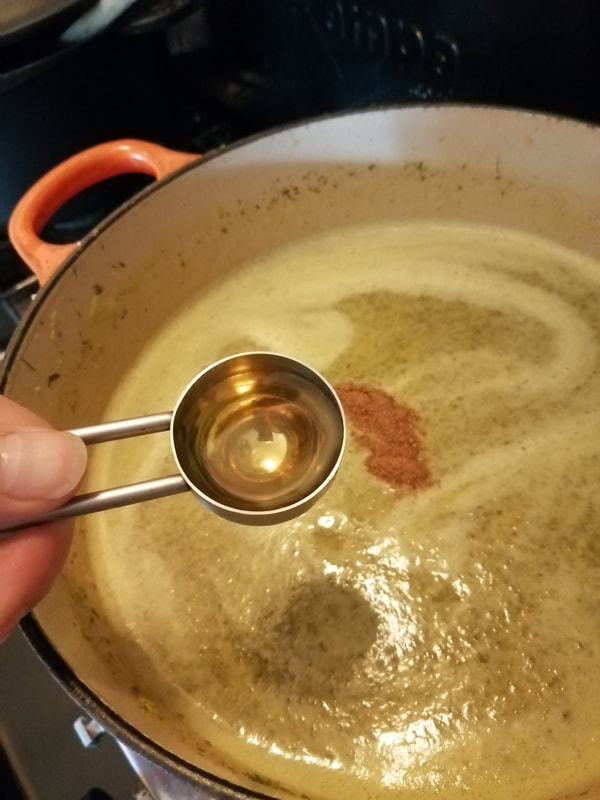
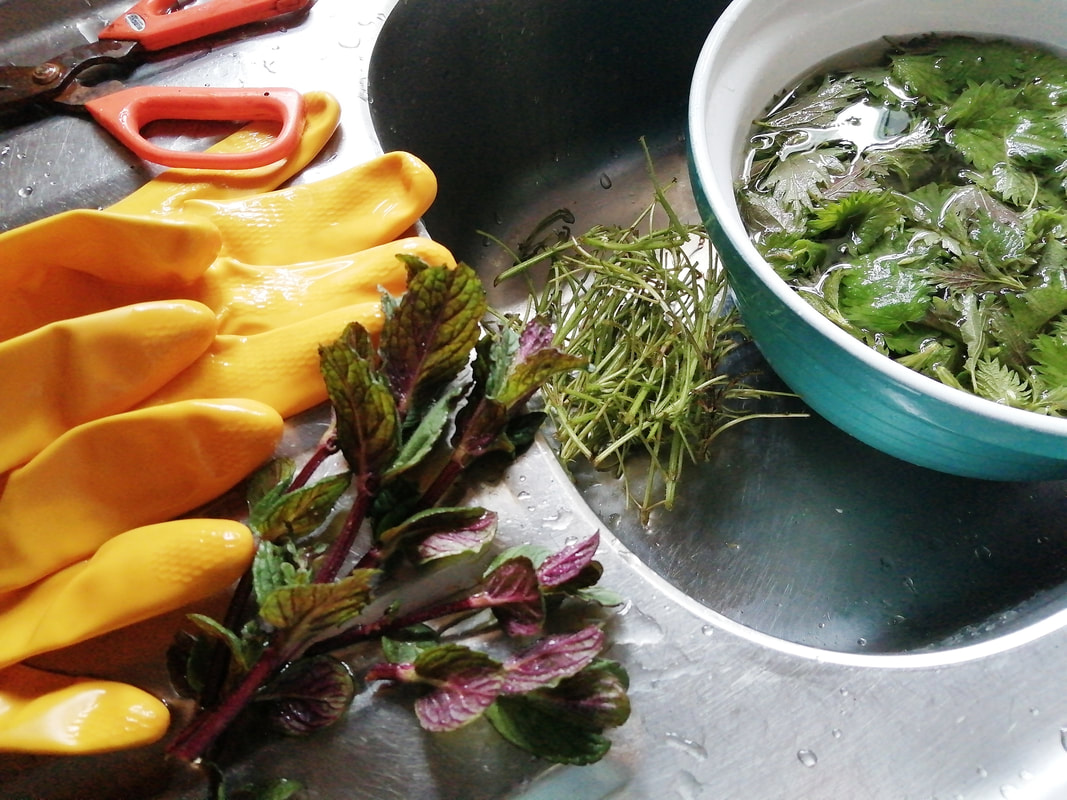
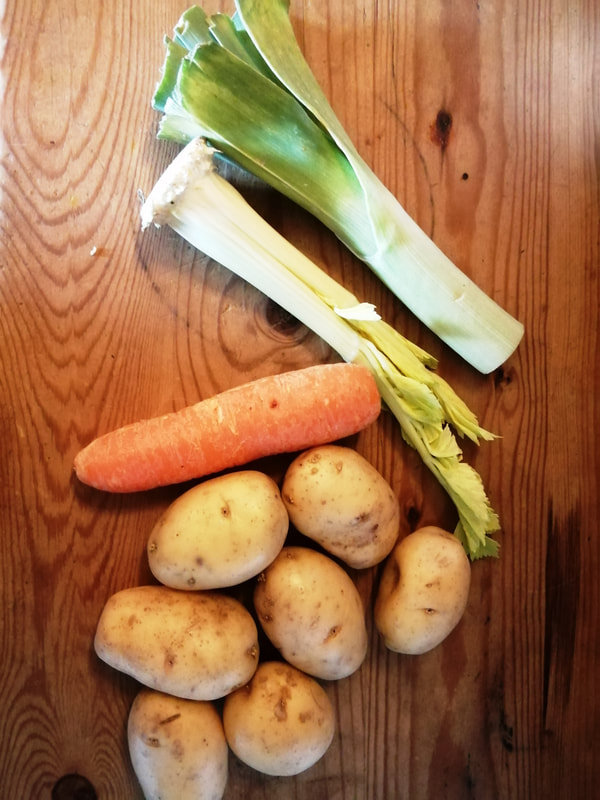
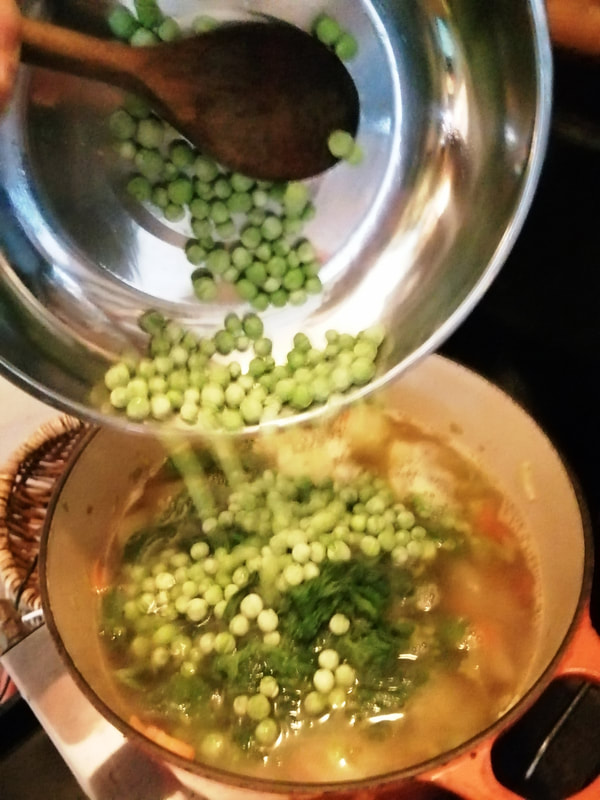
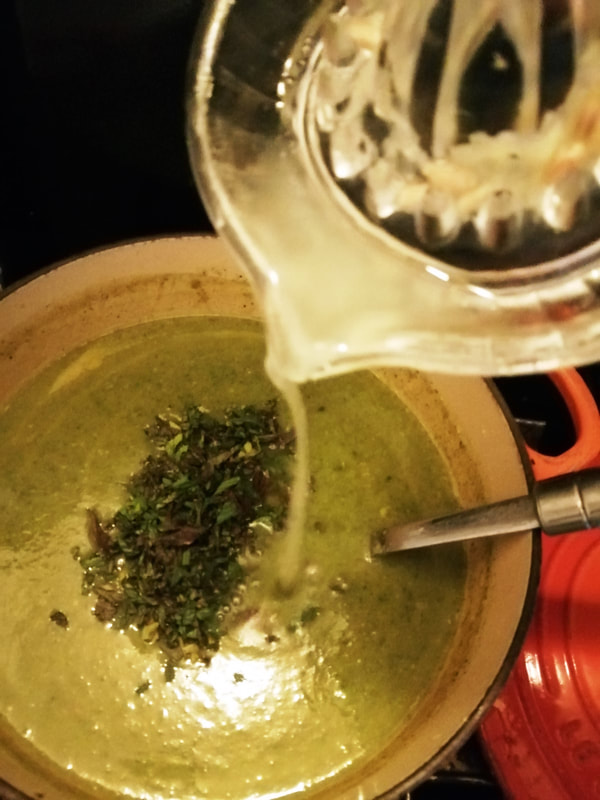
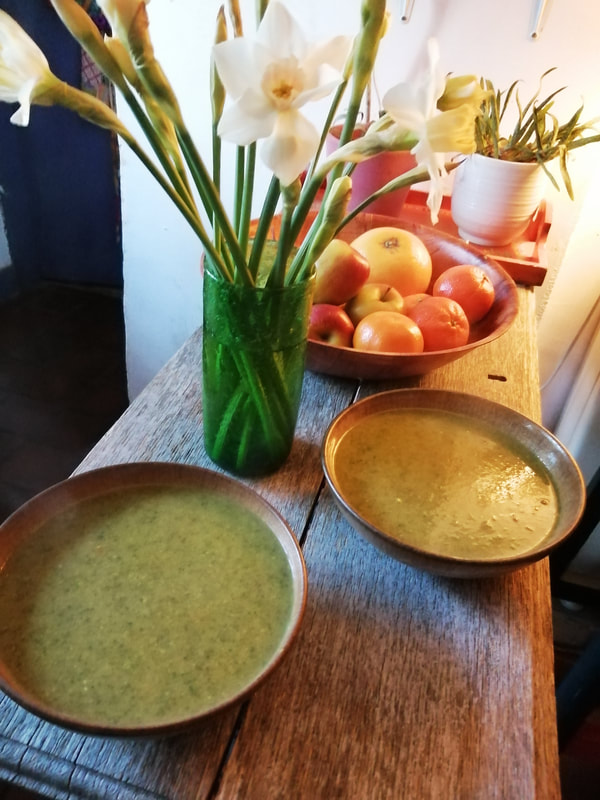
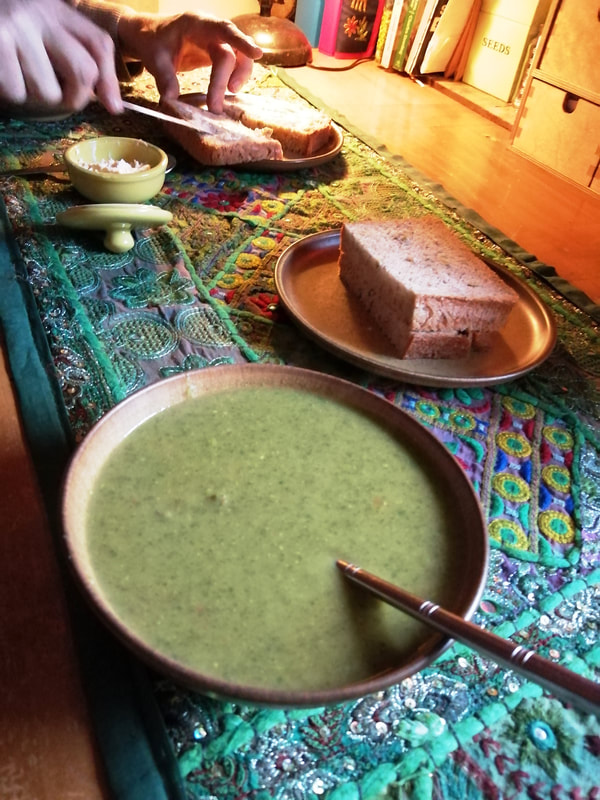
​When you’re ready to serve, stir in some chopped fresh mint (that’s the other thing we can reliably harvest from the garden now and will also get out of hand very quickly if we don’t keep on top of it!) and lemon juice. Sorted. The amount you can see here served two good bowlfuls, twice. I suppose a more straightforward way of saying that is four portions, but where’s the fun in that? I think the real point to make there is that it keeps well. Actually, like many things, time deepens and improves the flavour.

A Visual Journey of Nettle Soup!

​Incidentally, Milarepa, the 11th Century Tibetan Buddhist Yogi is famous for existing on a diet of nettles. It would be my hope that any food you prepare that's inspired by this article would nourish you on your own journey to happiness and enlightenment for the benefit of all beings… but I suspect Milarepa wouldn’t advocate my use of bulking ingredients, fat and flavouring so perhaps I’ve got a little way to go just yet! 
​With love until next time, Annabeth xx
0 Comments

    ​We're Nik and Annabeth. This is Earth Heart...

    Read about the Earth Heart Project here...


    Picture

    ​Reaching Out?
    [email protected]

    Categories

    All
    Buddhism
    Foraging
    Herbs And Healing
    Land
    Meditation
    Organic Gardening
    Placemaking
    Poetry
    Seasonal Eating
    Seasonal Festivals
    Sitar
    Upcycled Crafts
    Vegan Home Cooking

    RSS Feed

Powered by Create your own unique website with customizable templates.